Straightening a Bent 1U Server Chassis

February 17th, 2022

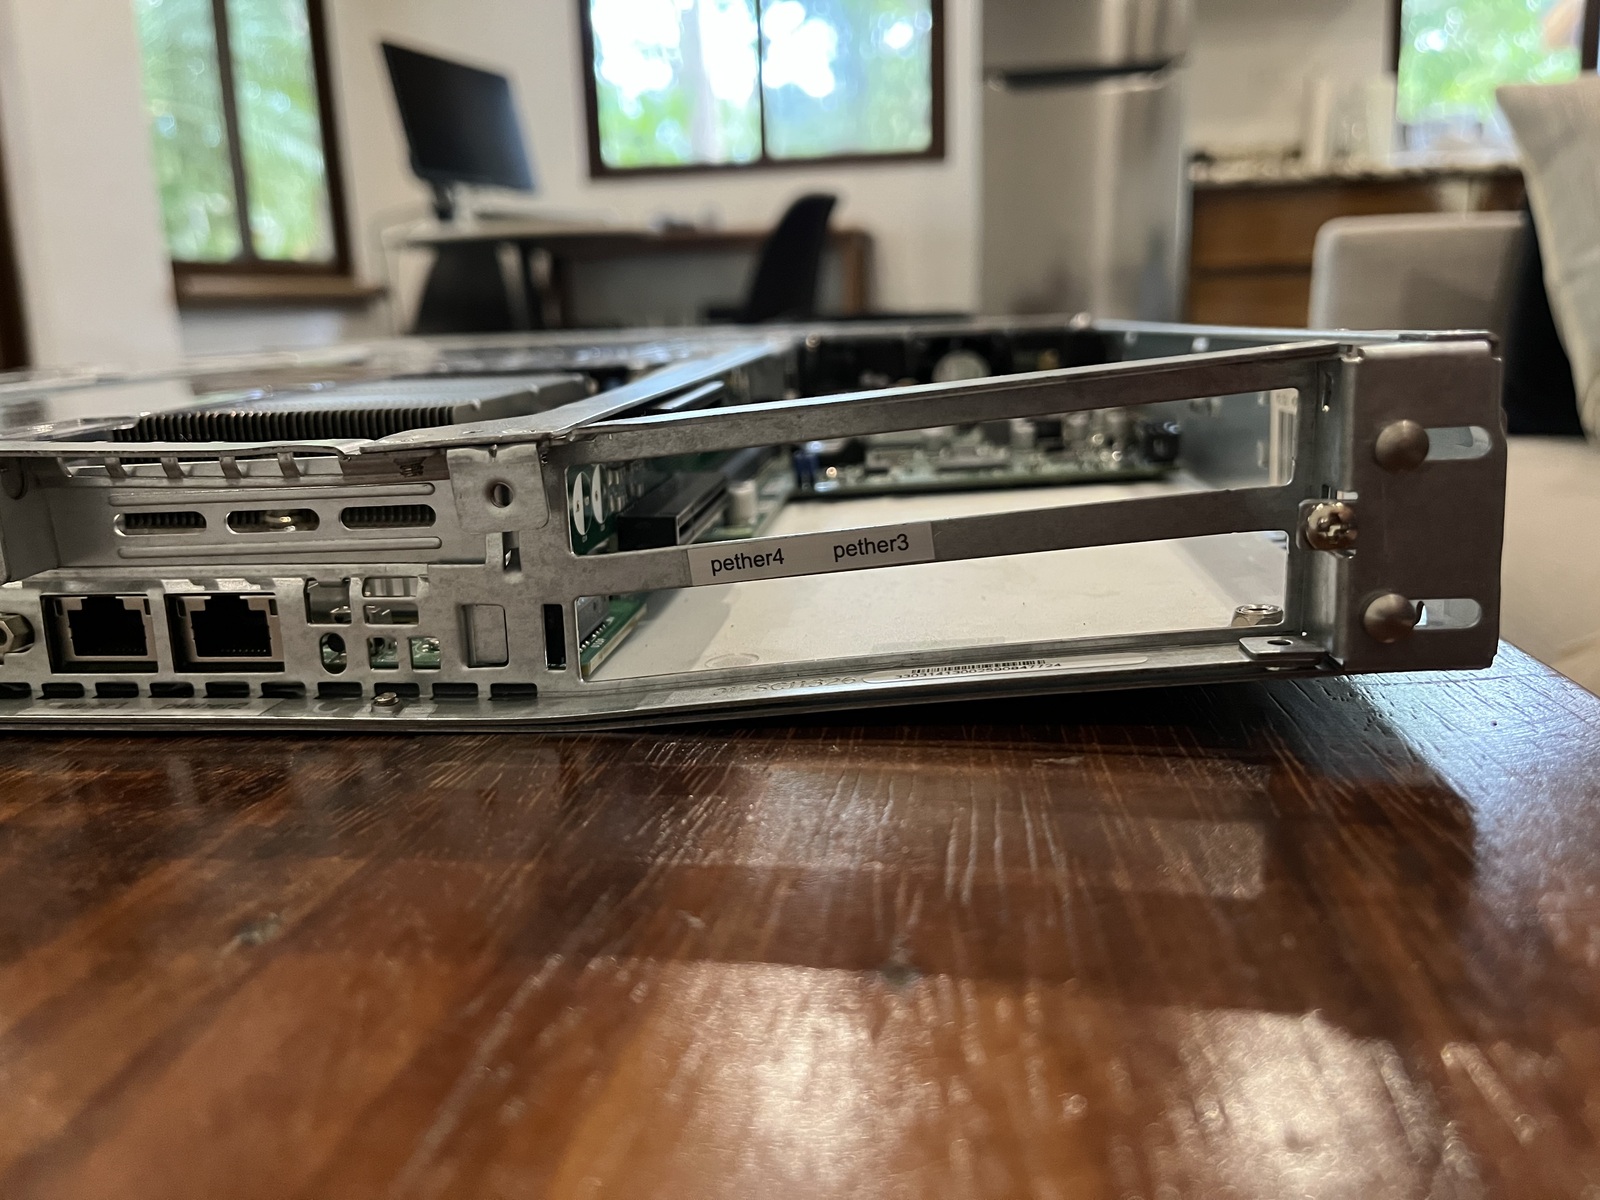
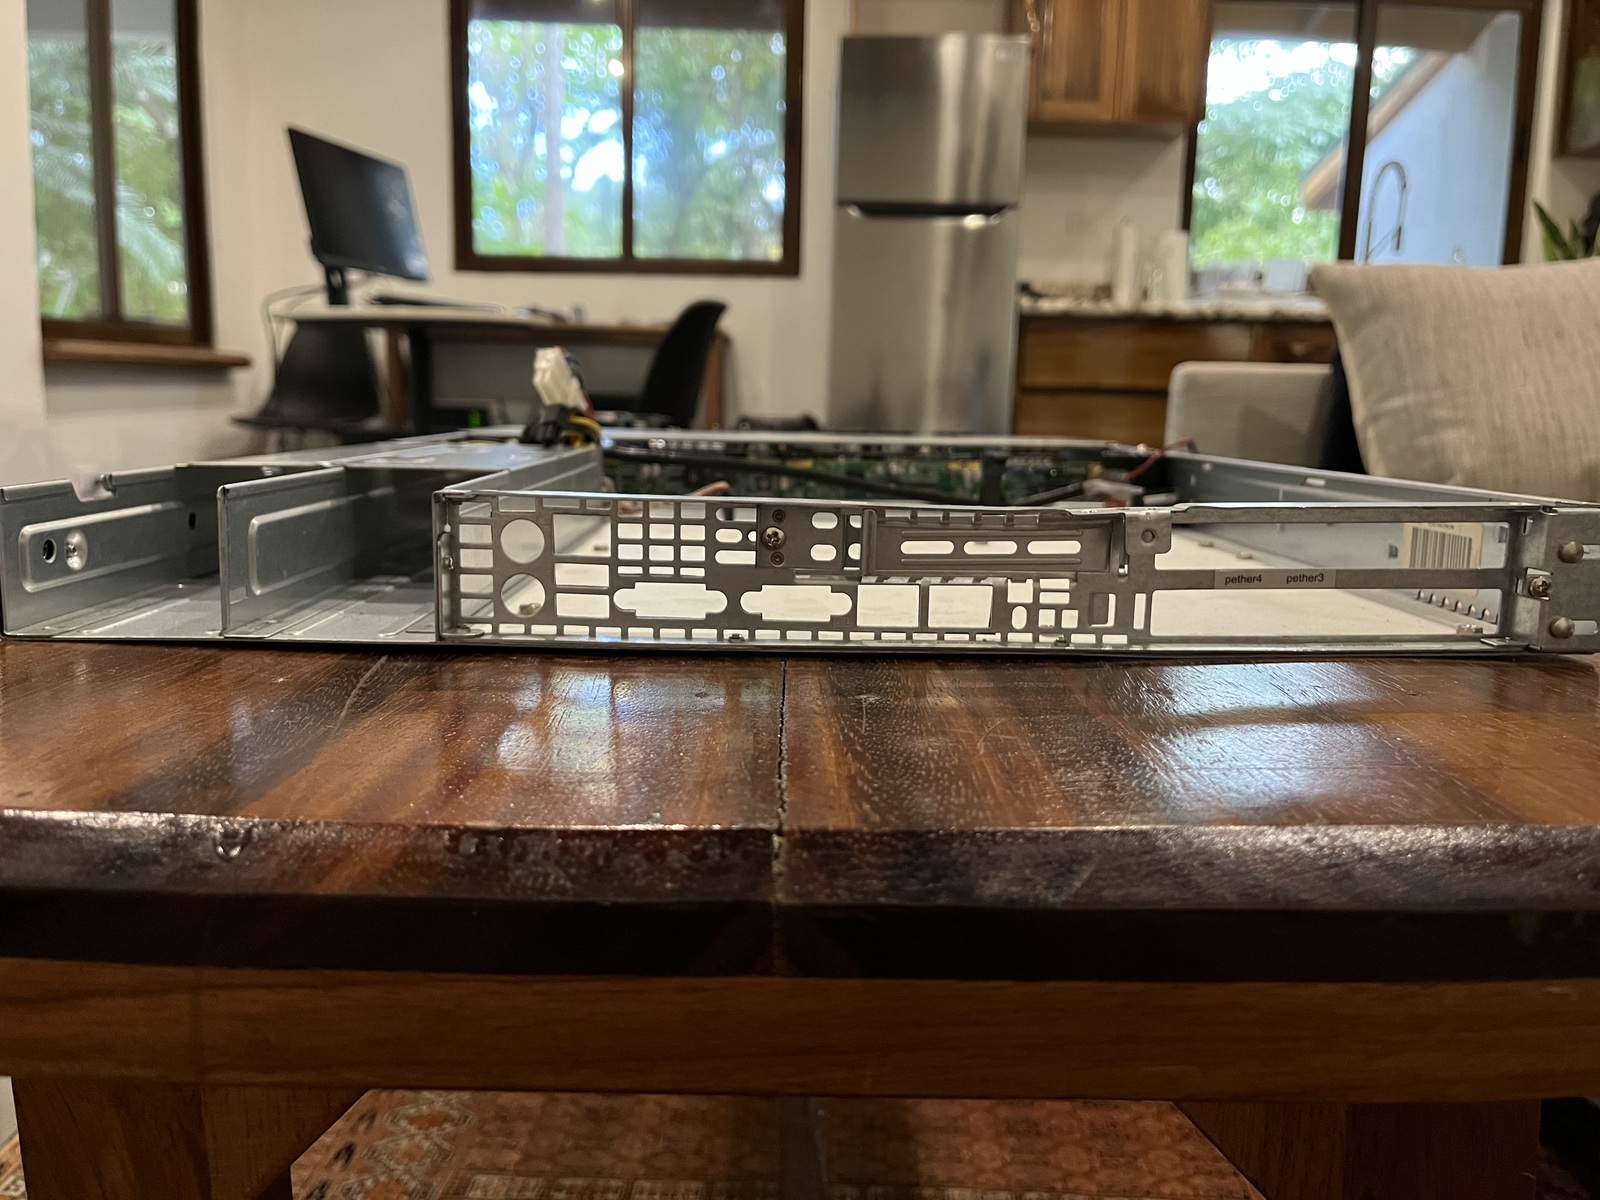
I recently acquired a new (used) server which was damaged in shipping.1 Luckily the damage wasn't anything serious, just a slightly bent frame.

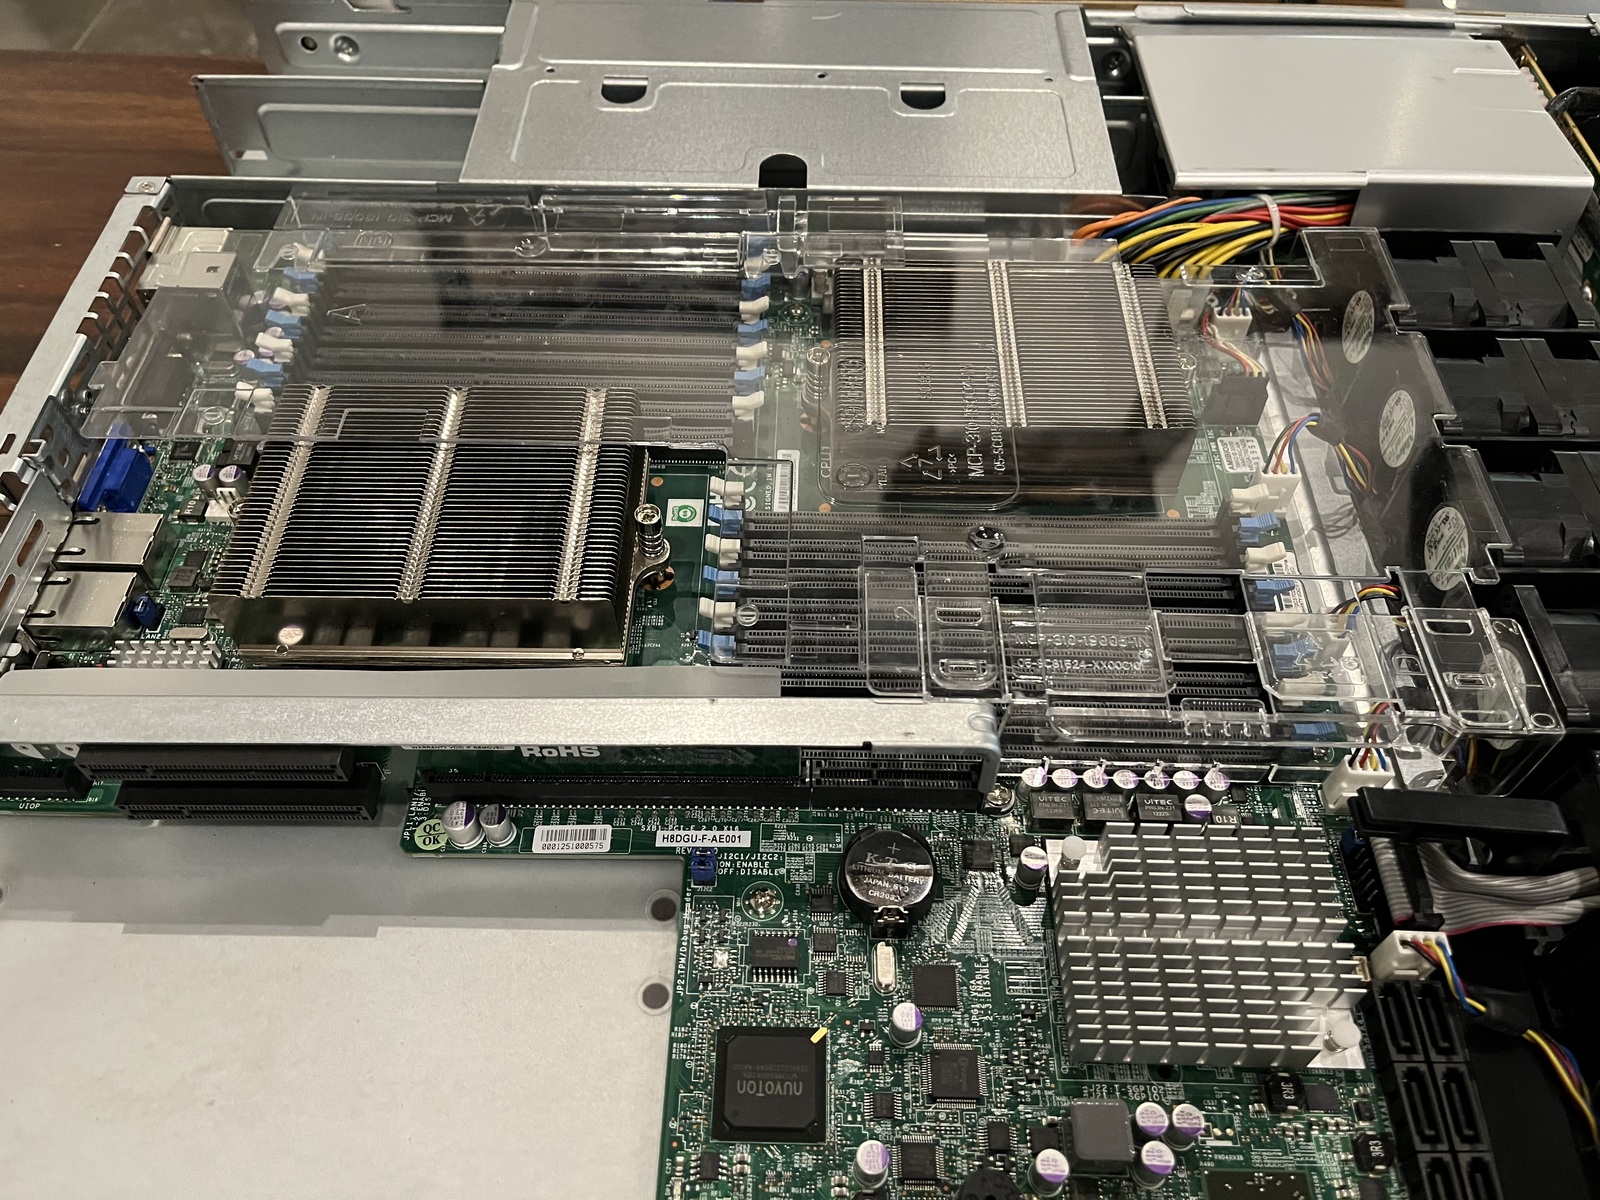
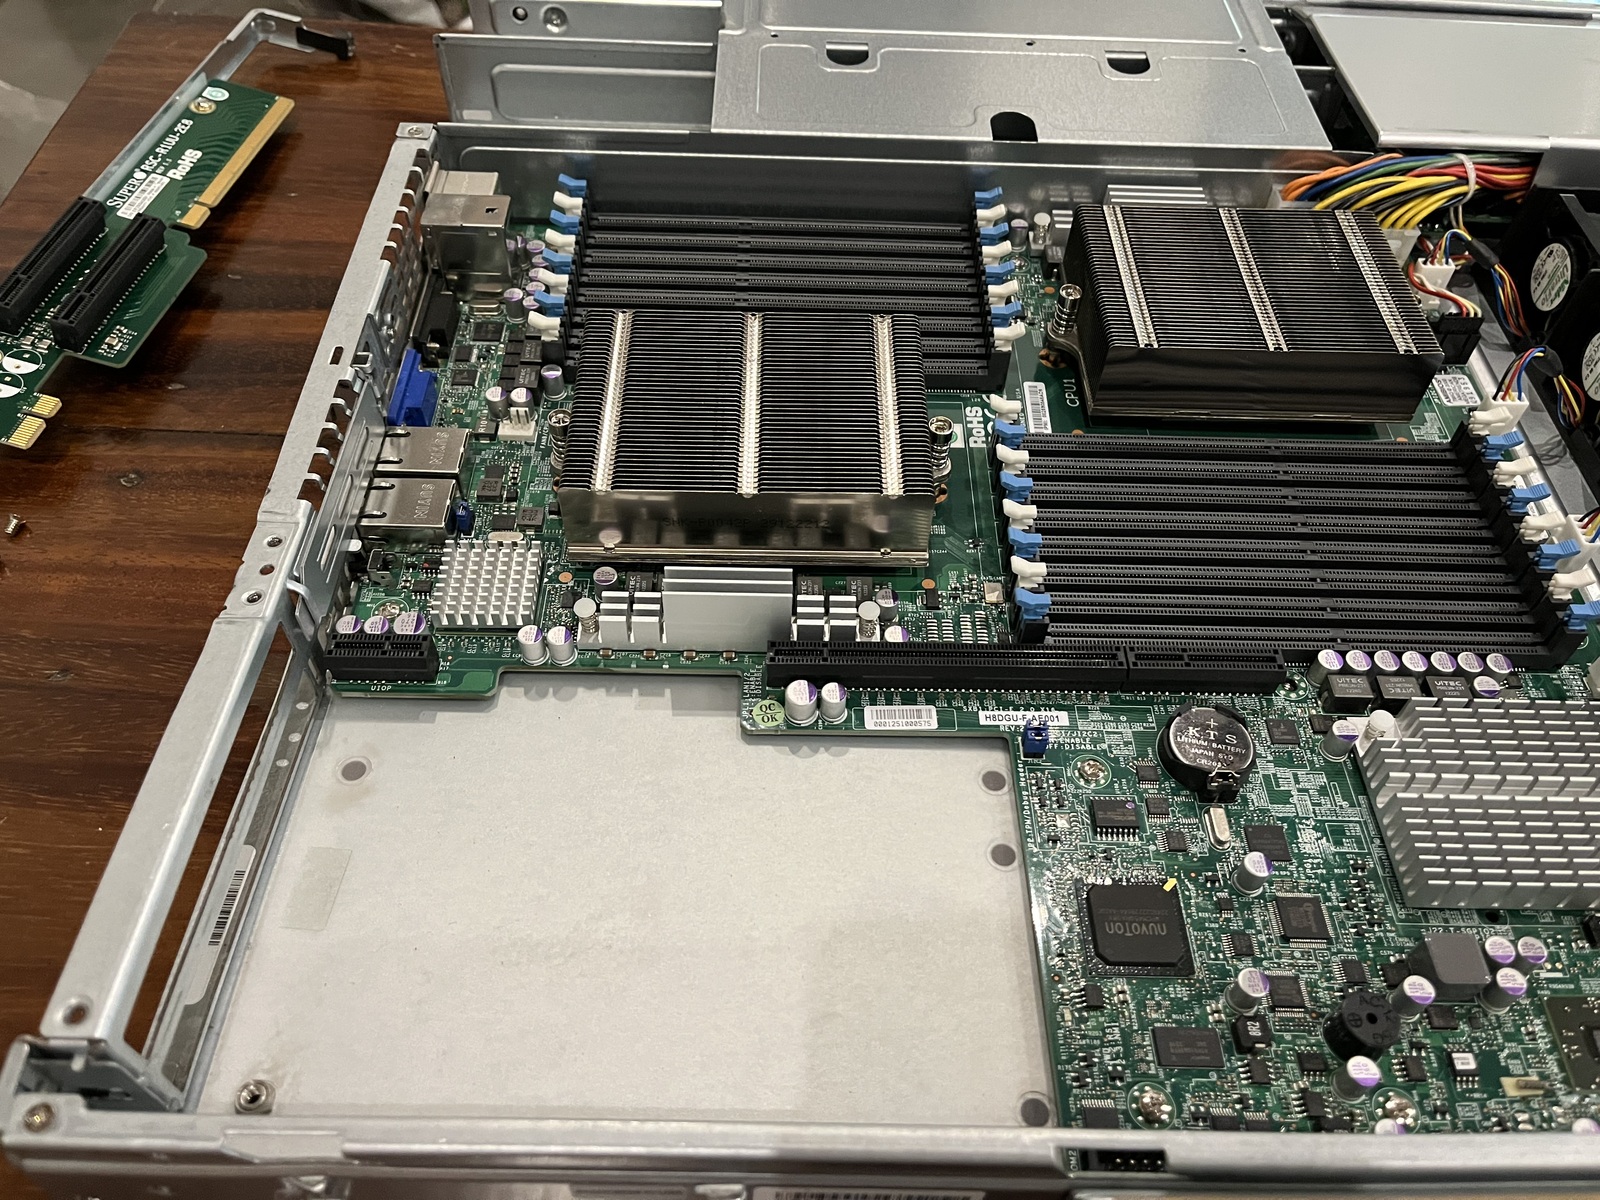
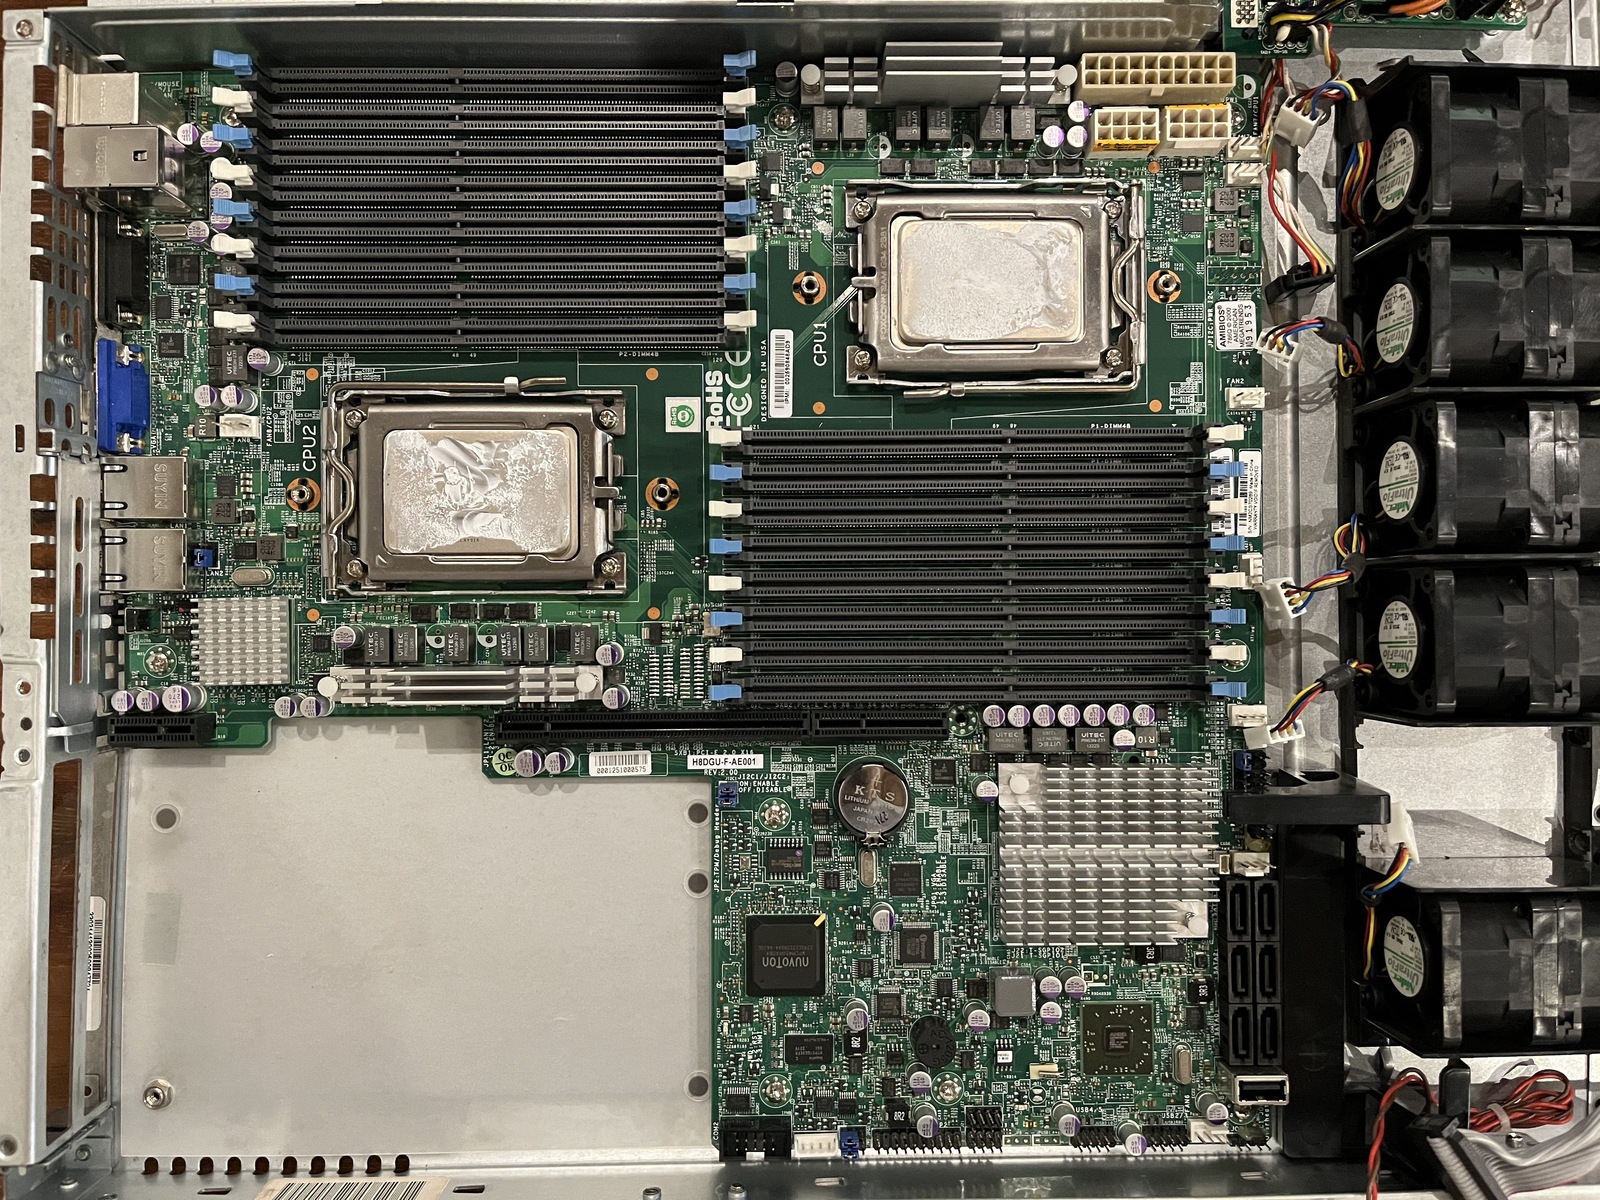
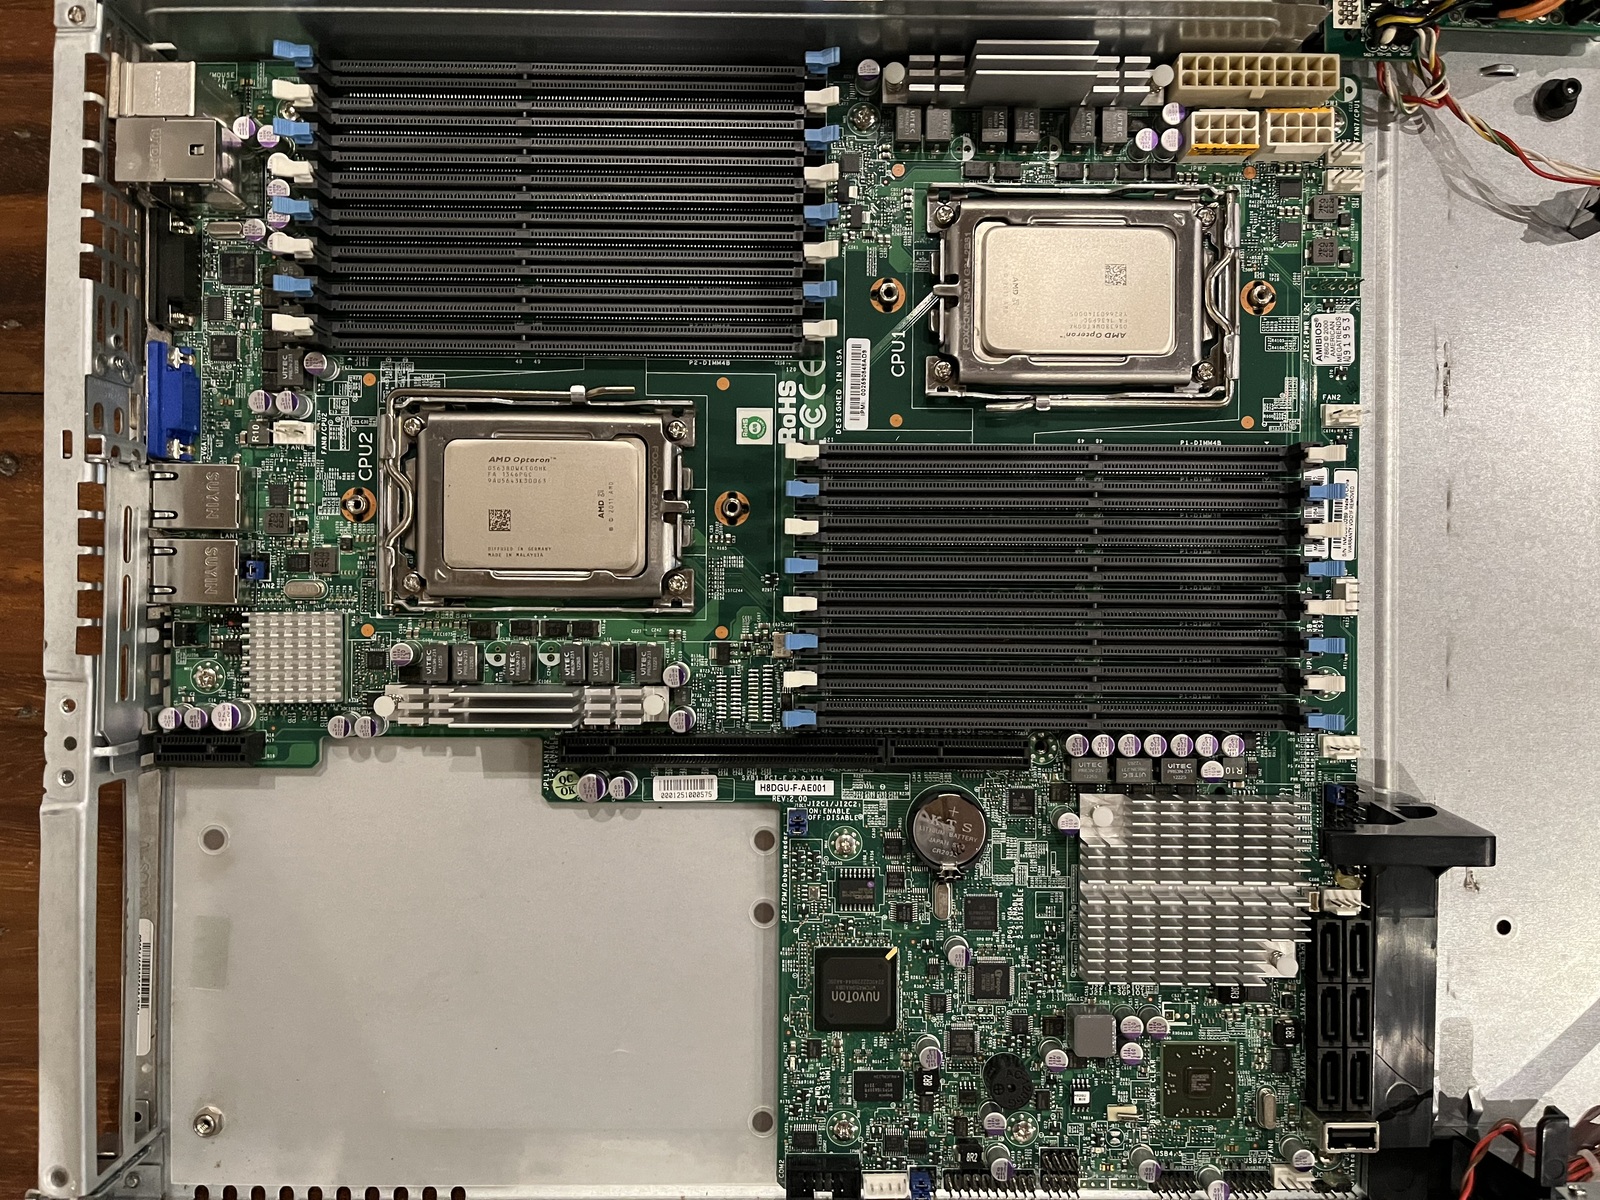
In order to have any hope of fixing this I'd first have to remove the motherboard. As you can see, none of the internals appear damaged. It seems like the PCI riser's bracket may have provided some extra sturdiness to the location just at the edge of the motherboard, preventing the case from bending closer to the middle. In any case, buena suerte. Let's get started by first removing the plastic airflow cover and the PCI riser.

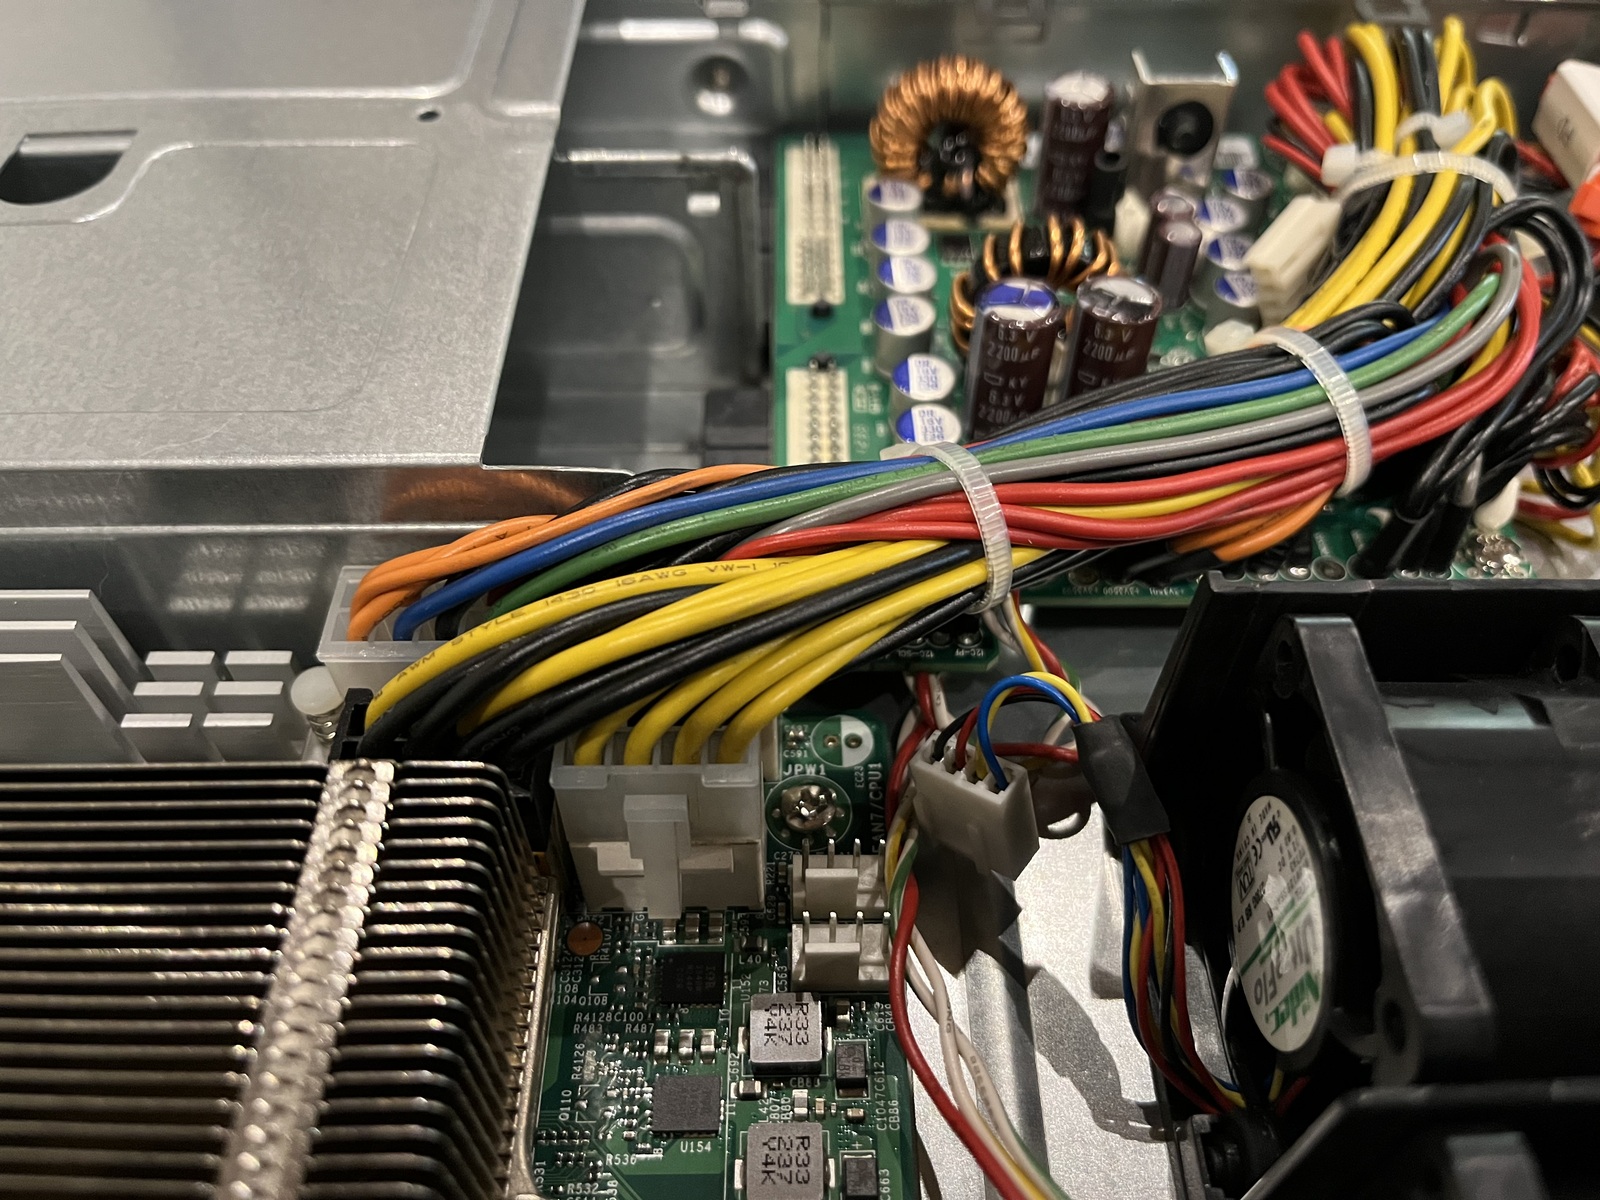
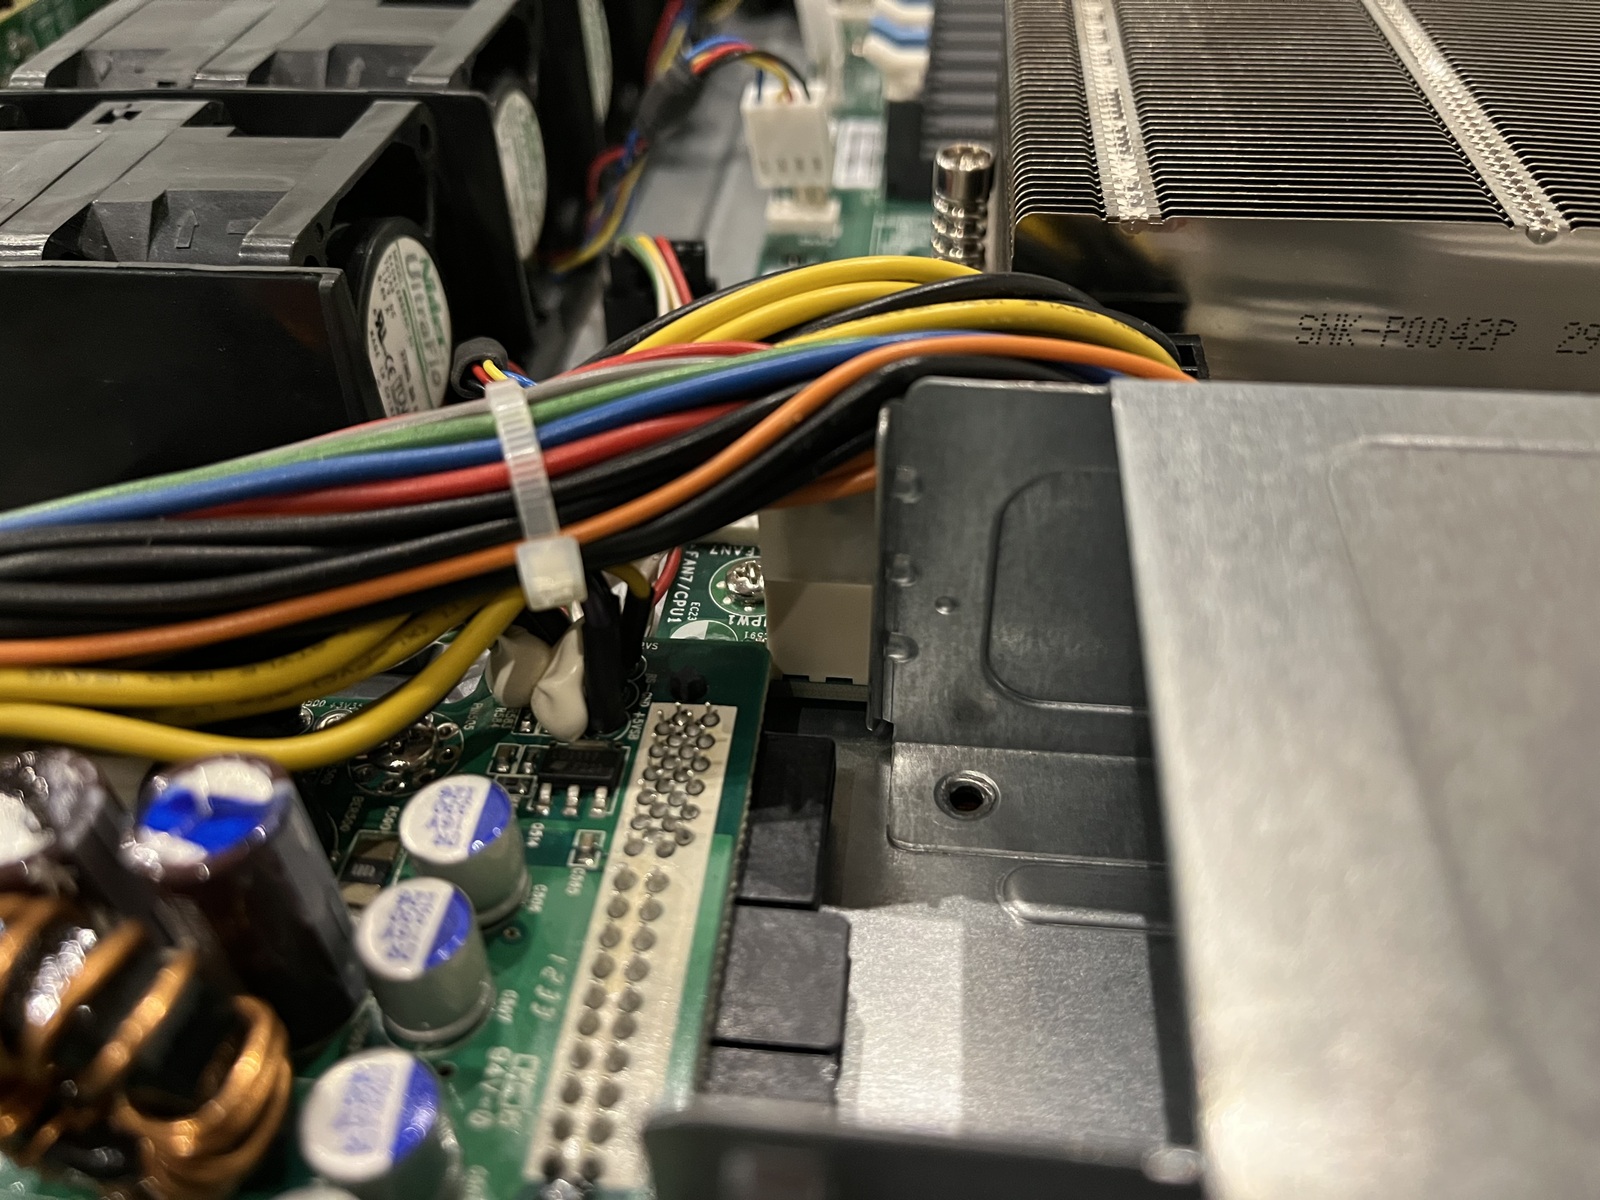
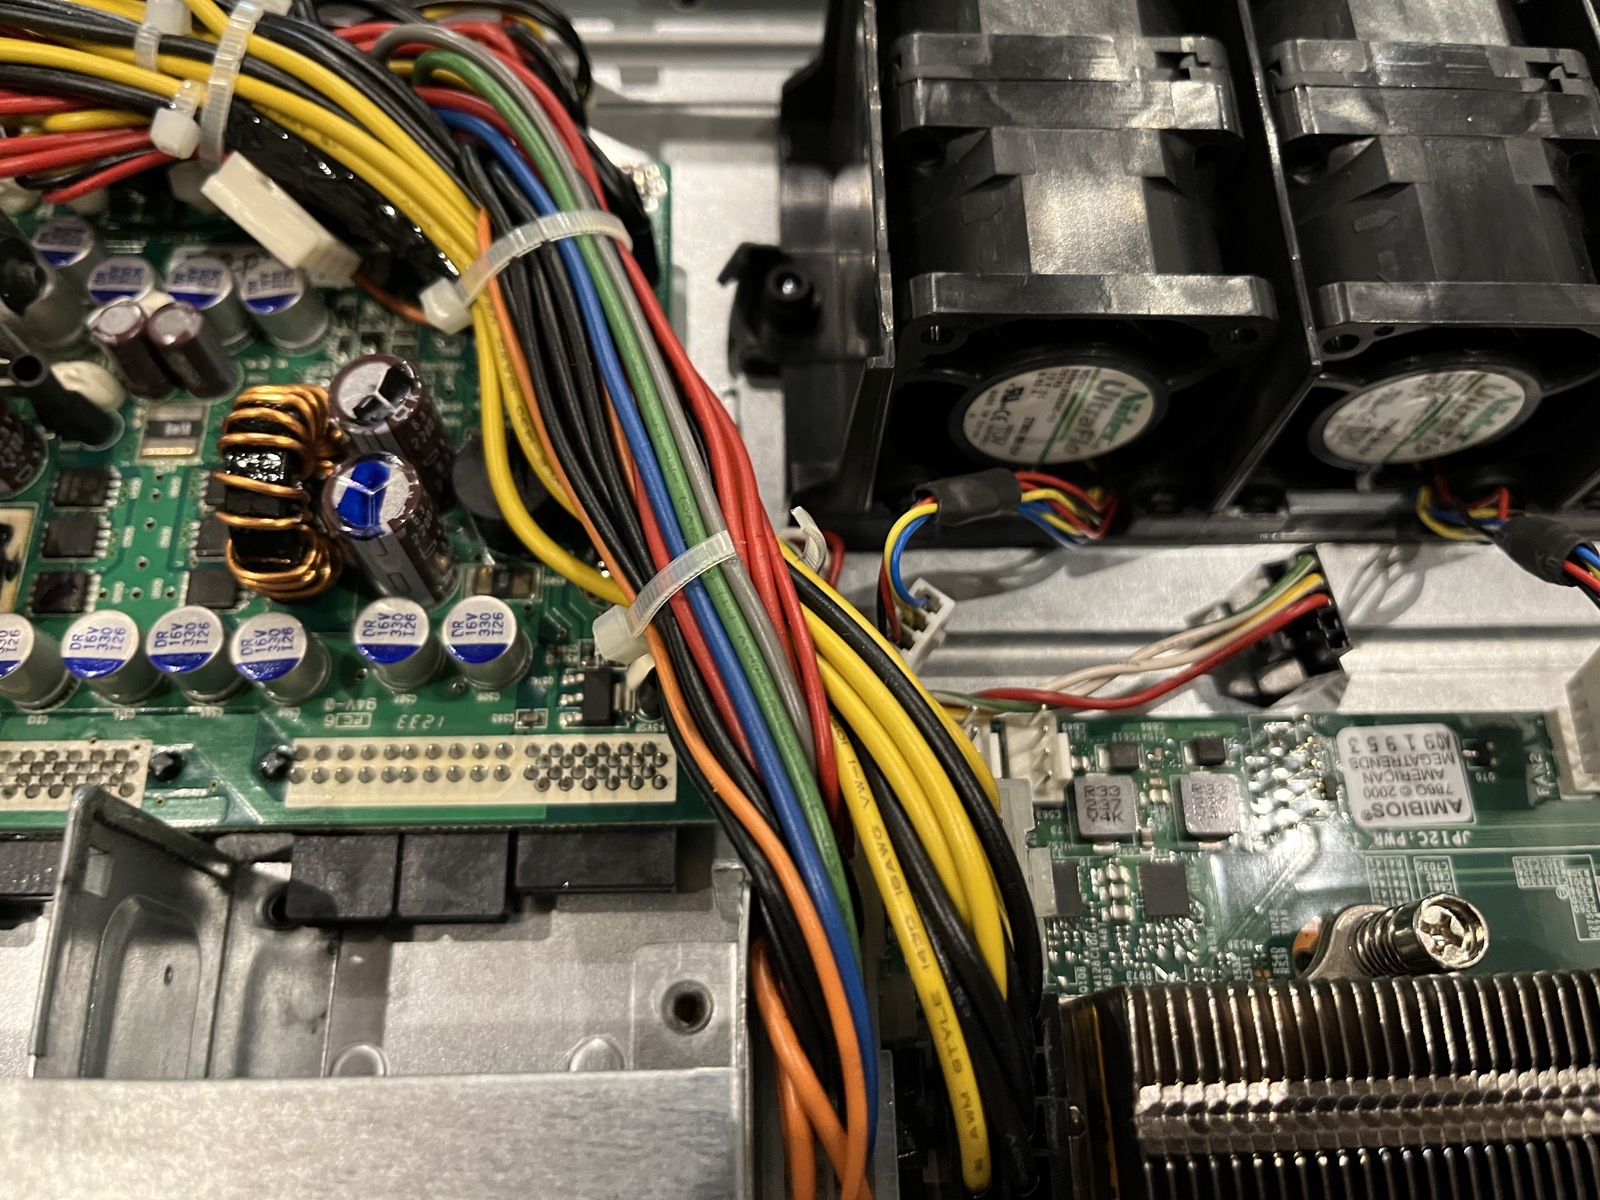
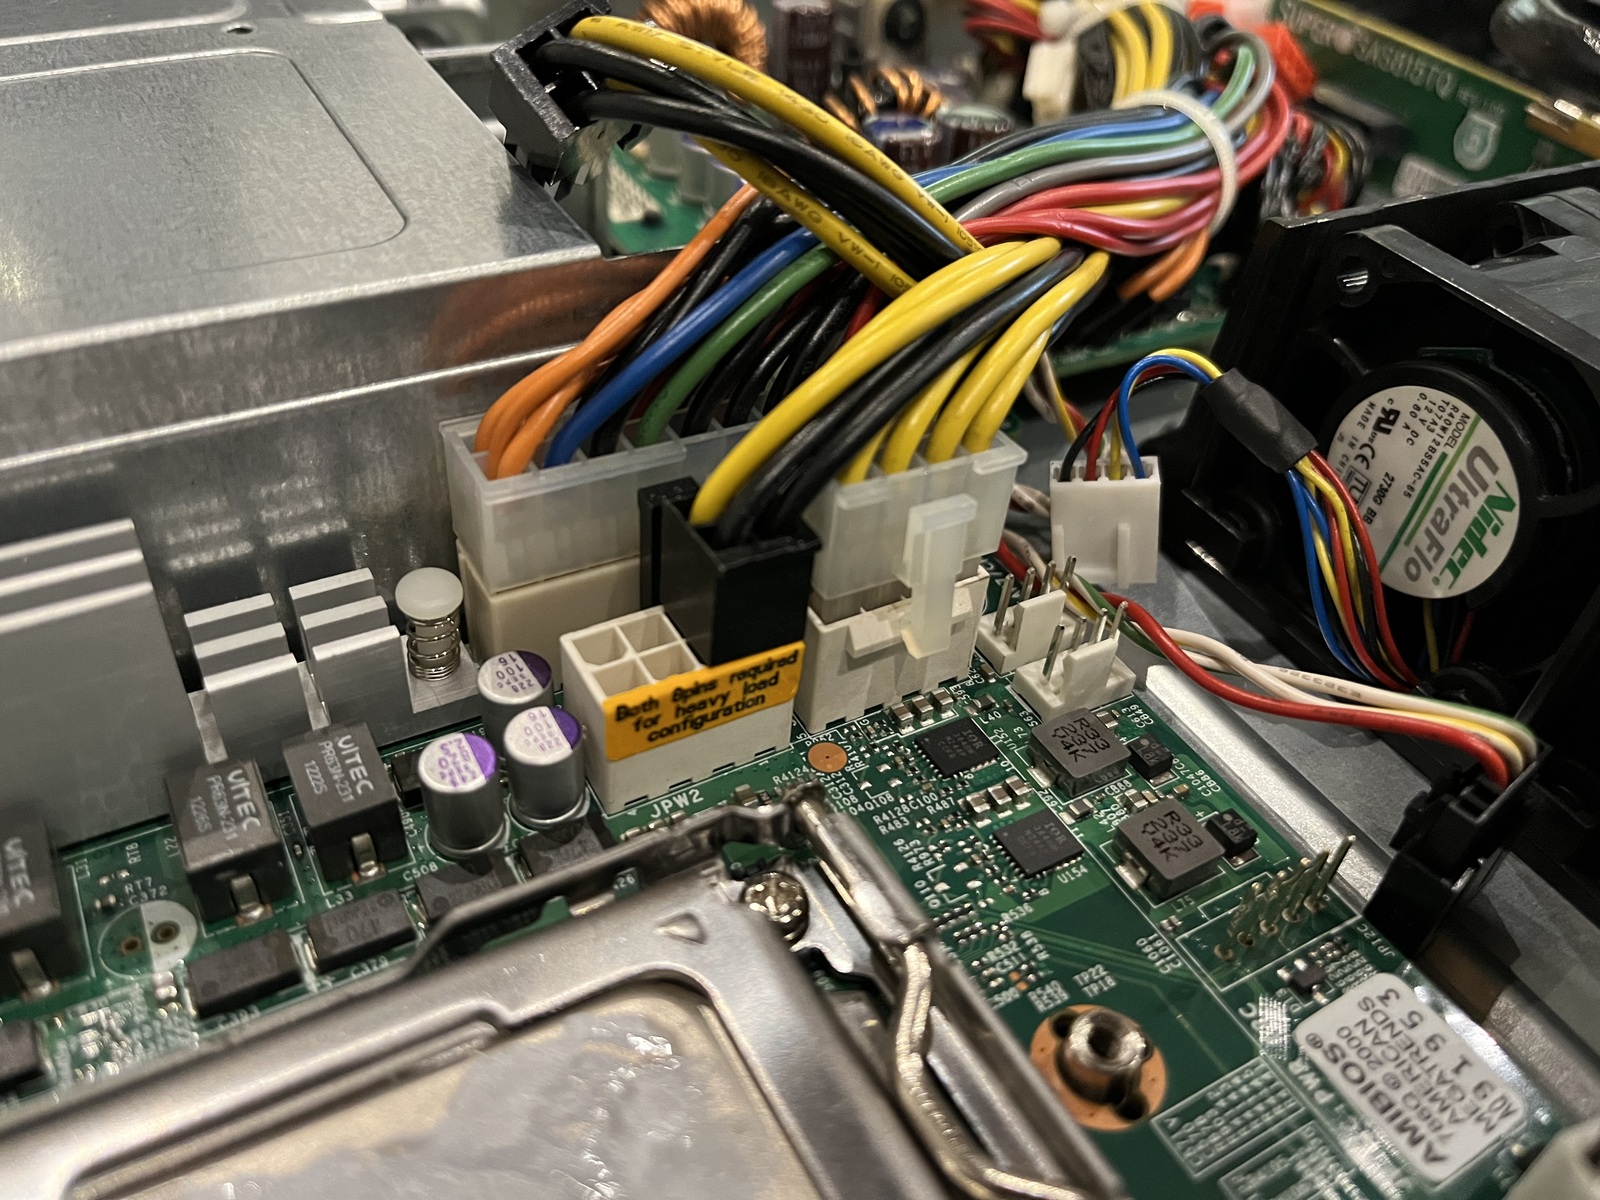
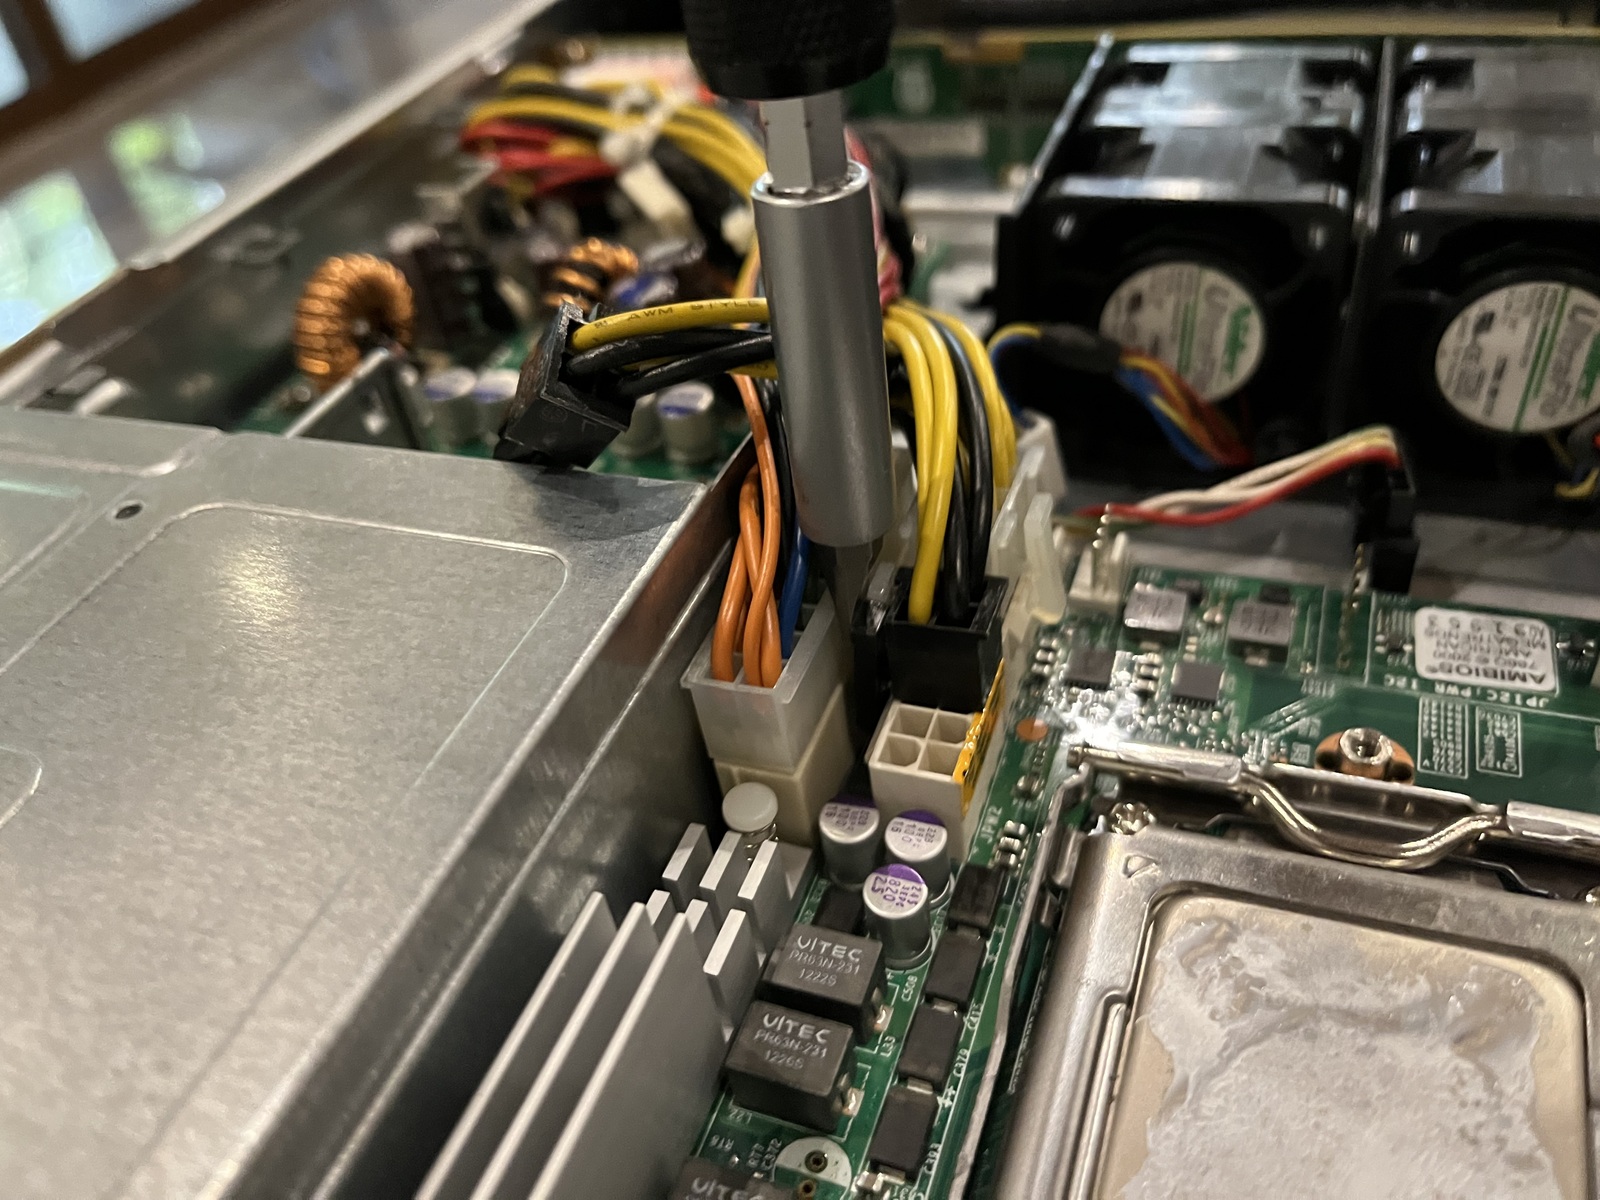
Now on to all of the fan and power cables. The fans were no problem but it was a bit tight around the mains, which required some extra finesse. The first thing that got in the way was the zip tie closest to the connectors. It made it difficult to get my fingers underneath the cables and from the other side it looked like it also might have been wrapped around some cables I did not want to disturb.

With a sharp knife I carefully sawed at it until it broke. I also removed one of the heat sinks, since that was getting in the way.2 To help with some of the clips I used a flat head screwdriver to squeeze them open.

With all of the cables unplugged, all that was left was to unscrew and remove the motherboard. There were no surprises here and inspecting the motherboard upon removal further reassured me that it hadn't suffered any damage during transit.

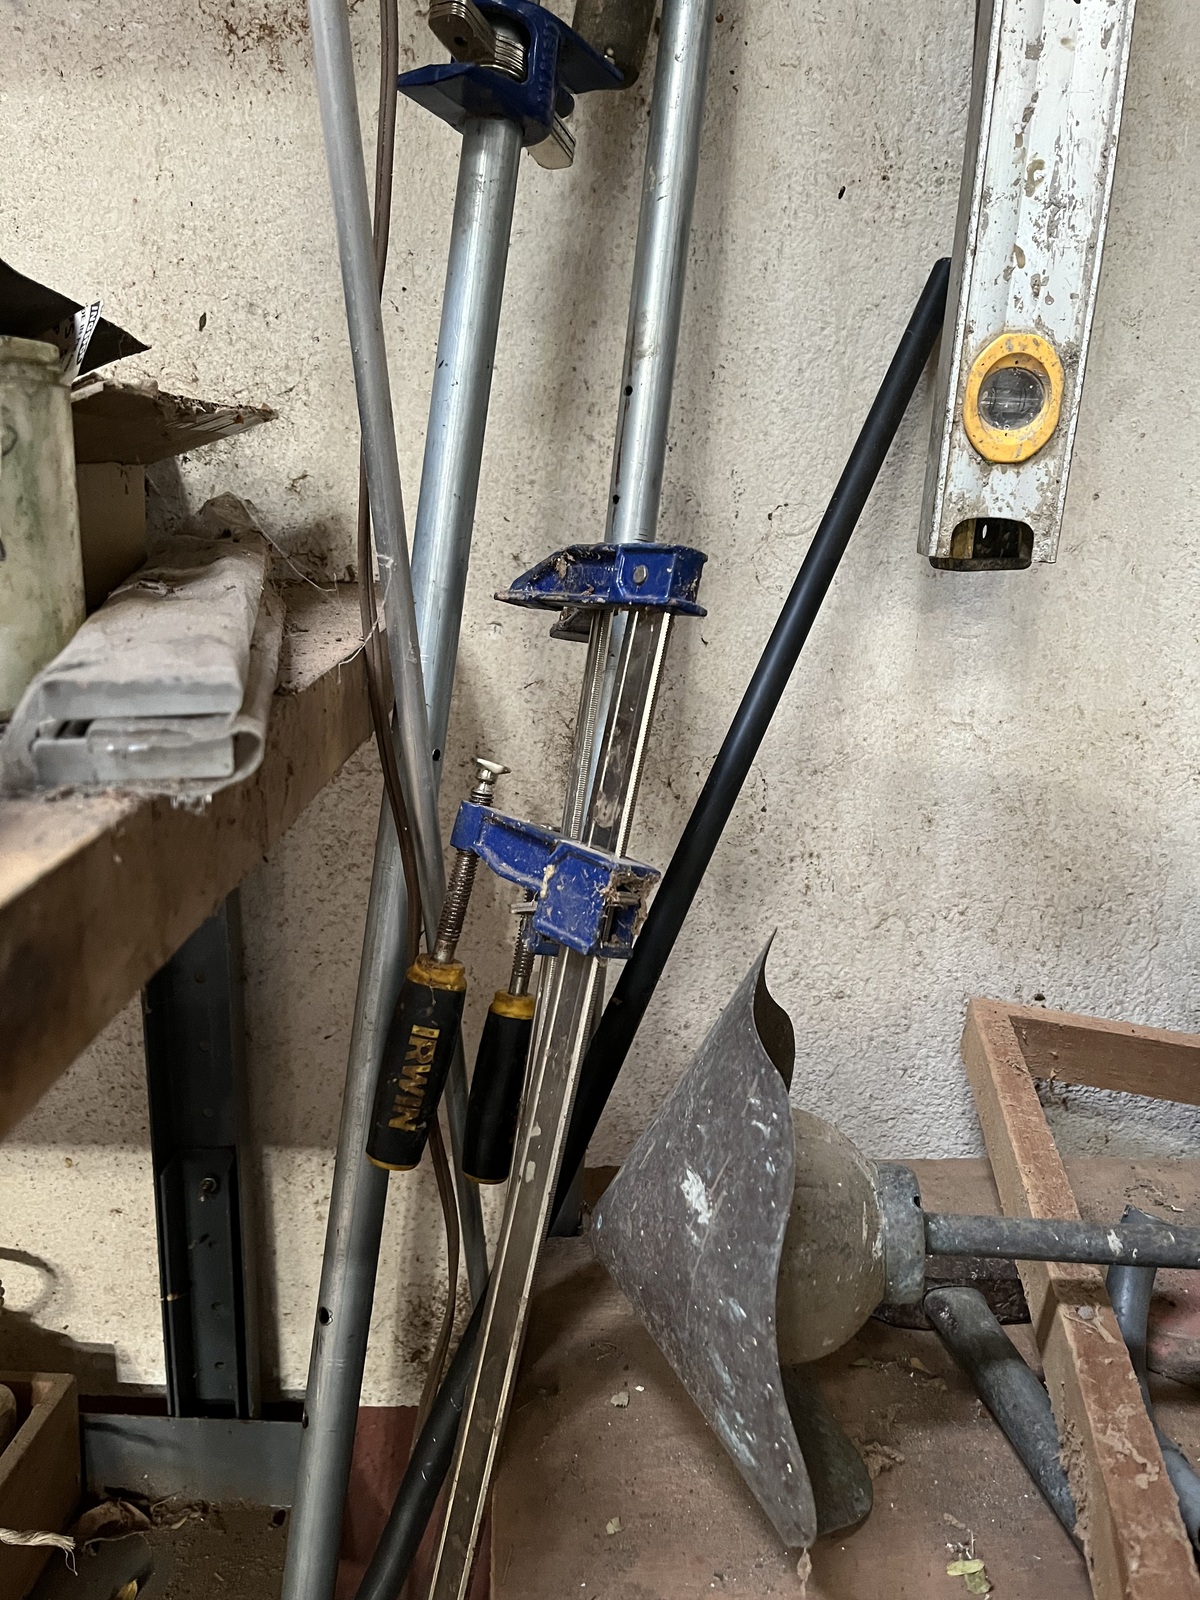
Now with the case (mostly) empty I was ready to move it to the bodega3 for phase two. I scanned the walls and shelves until I found two vices that seemed perfect for the operation.4

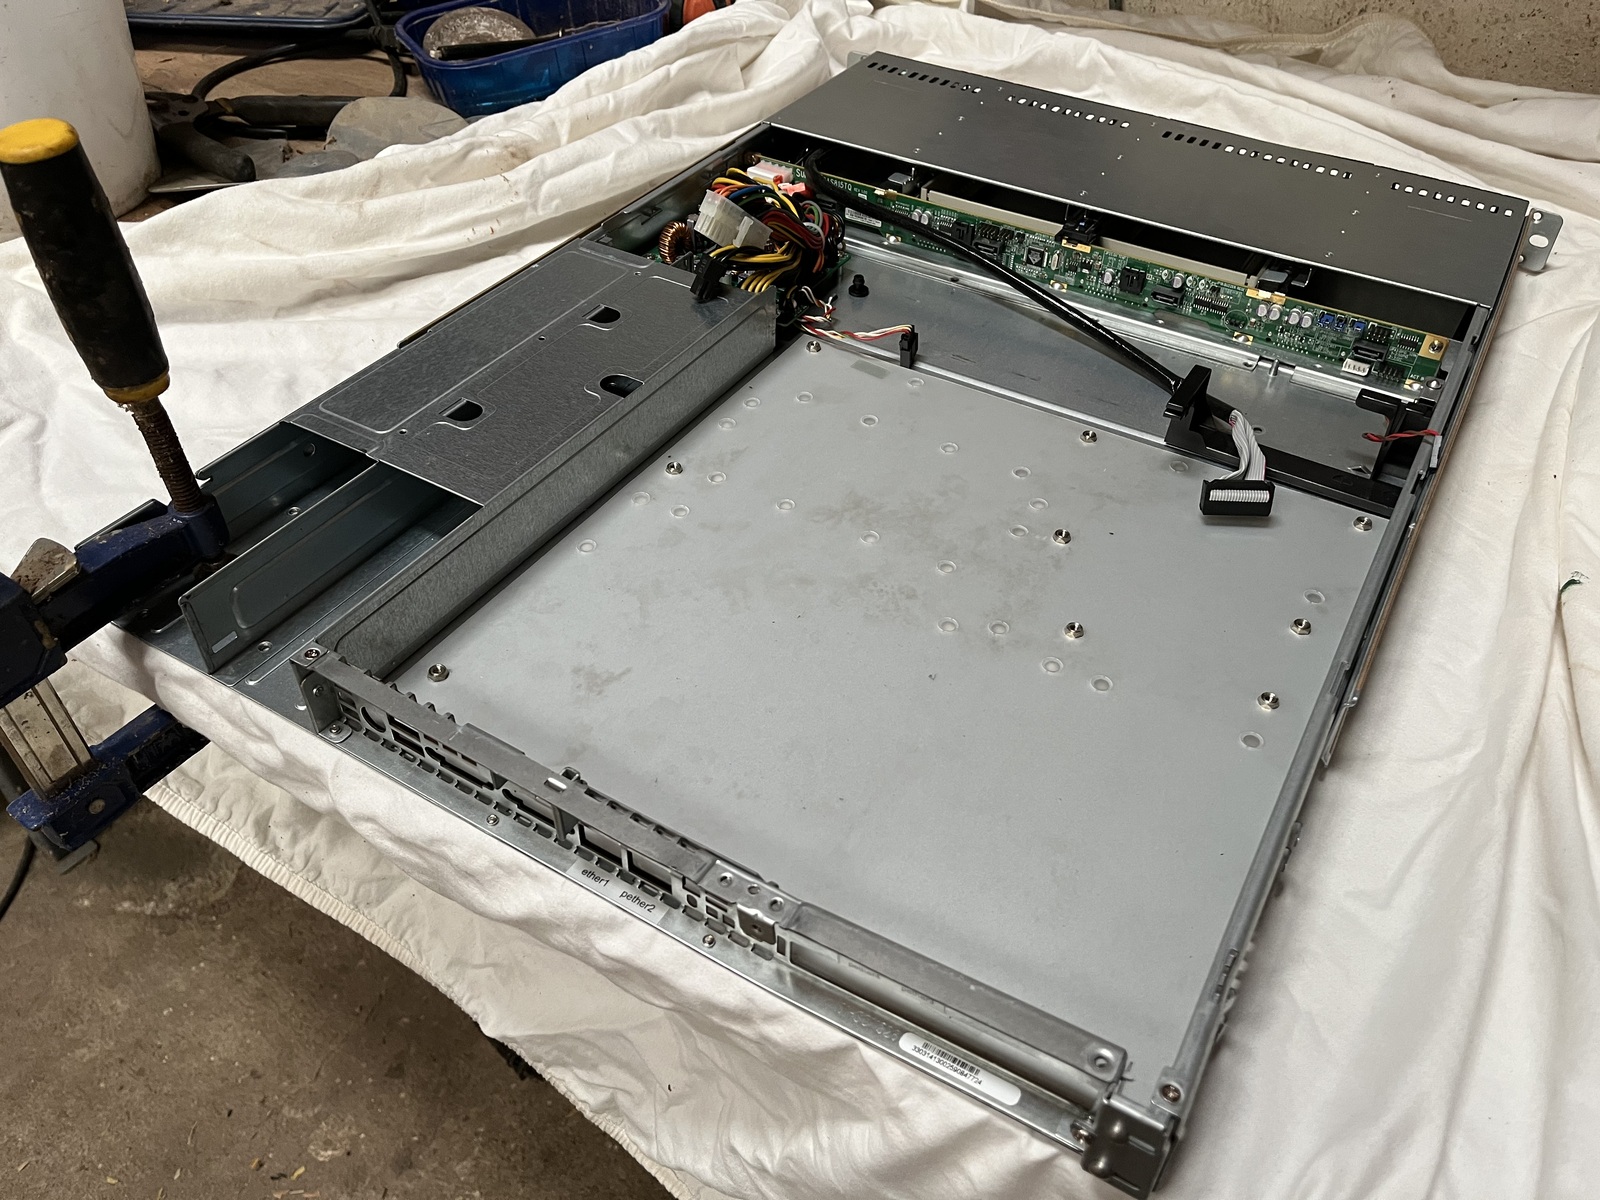
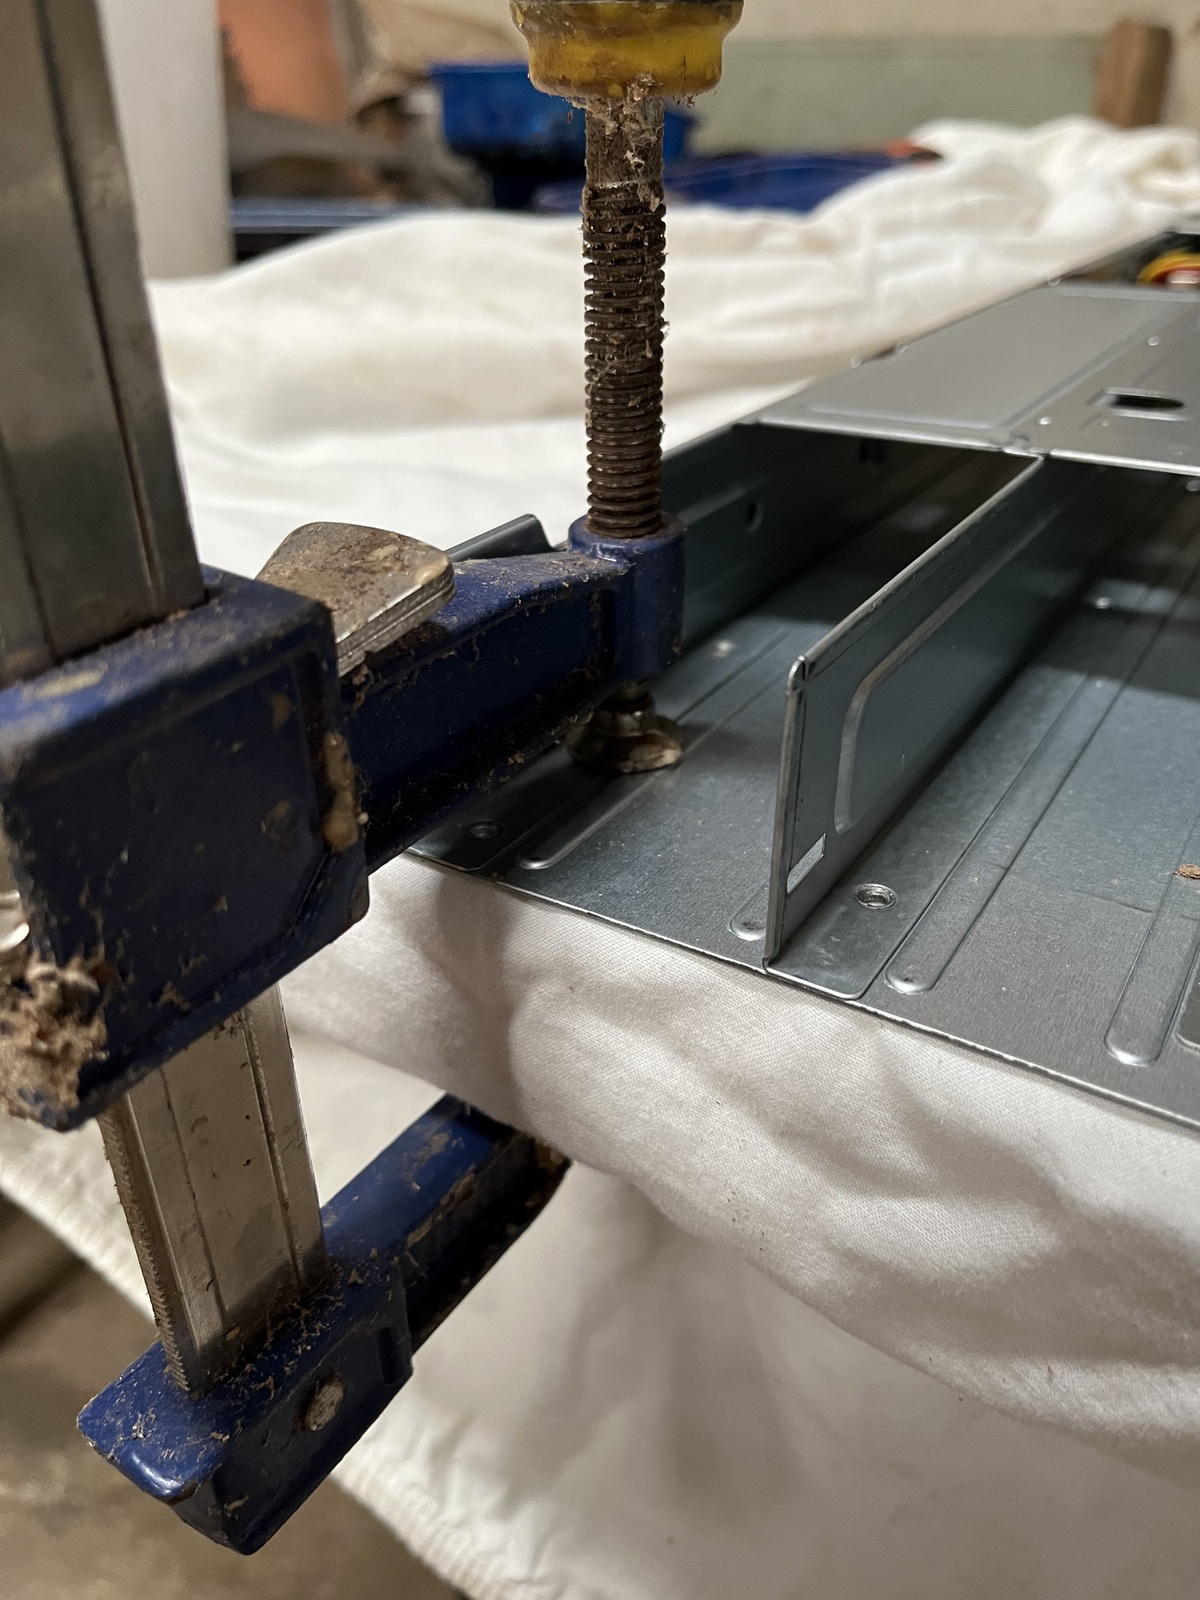
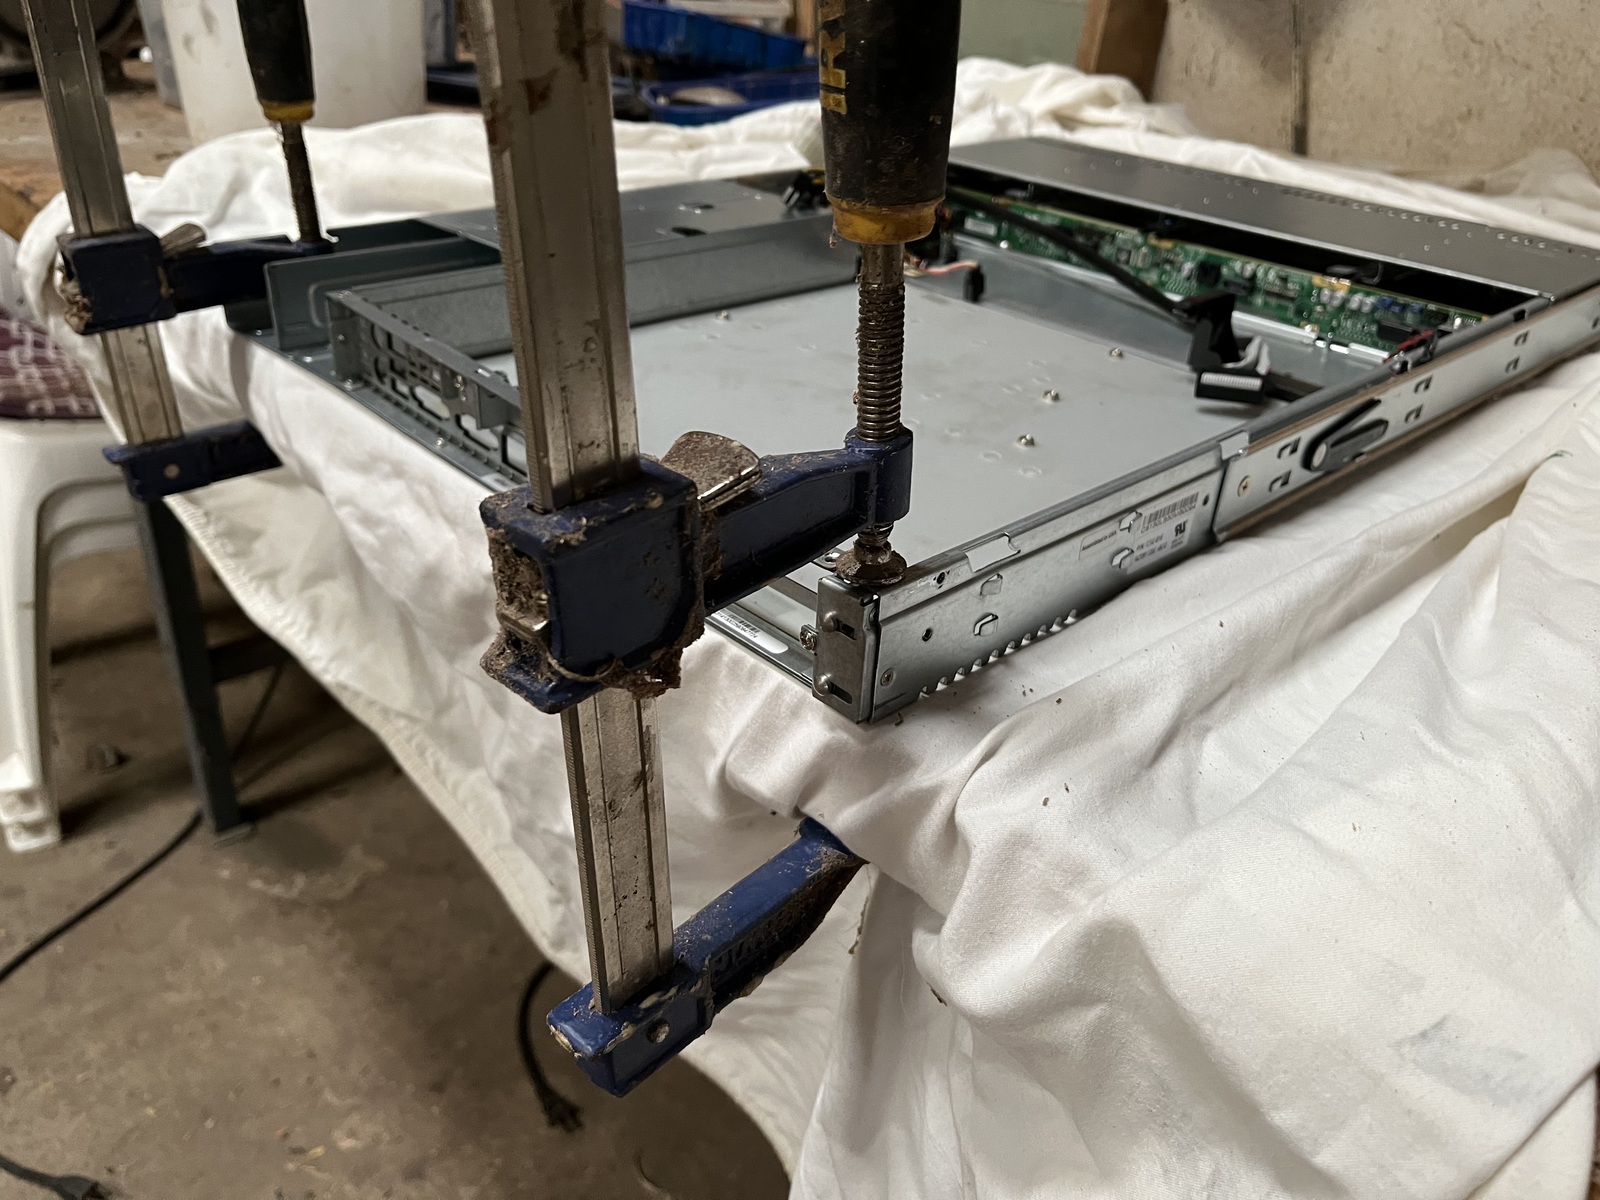
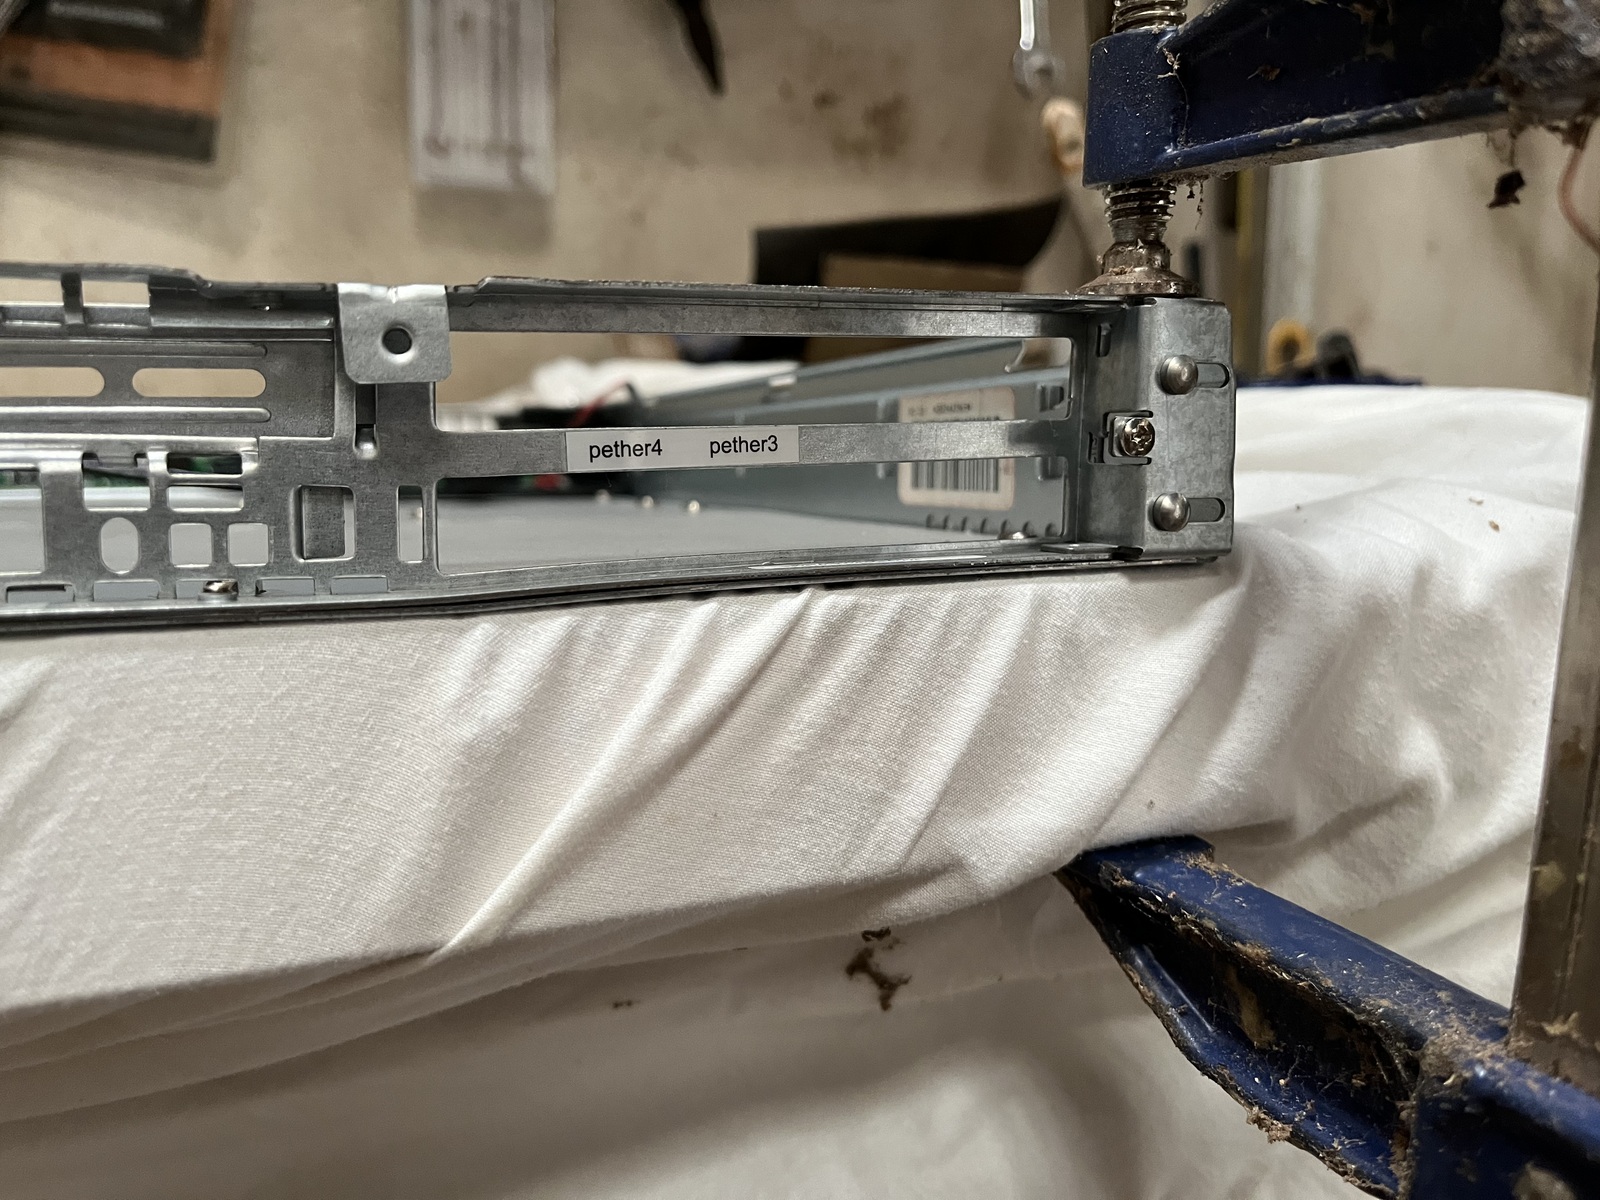
I also noticed an old sheet which was being used as a rag, so I made some space on a workbench and laid it flat just to avoid adding any extra scratches to the chassis while working on it. I then attached the vices to either side and started gently tightening the one on the right side to straighten the frame.

As I was doing this I noticed the left side starting to arc up so I moved the left vice inward to prevent adding a new deformity while fixing the original.

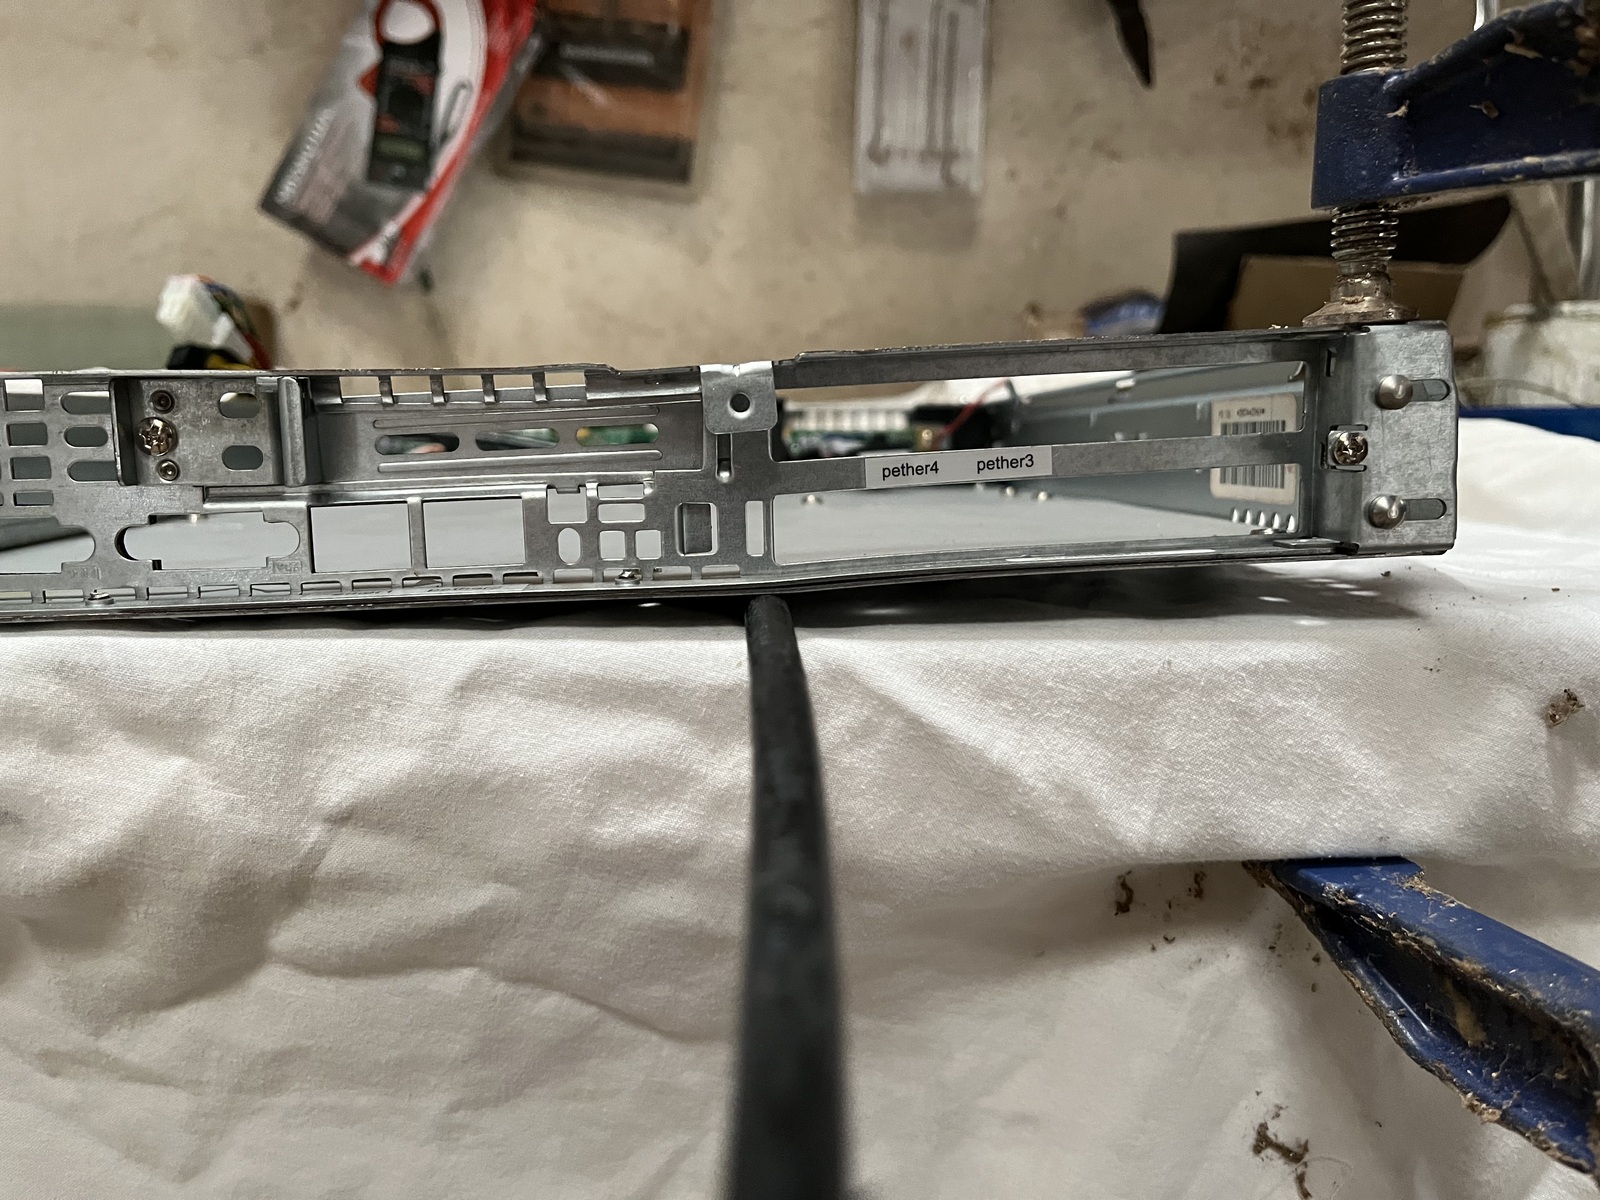
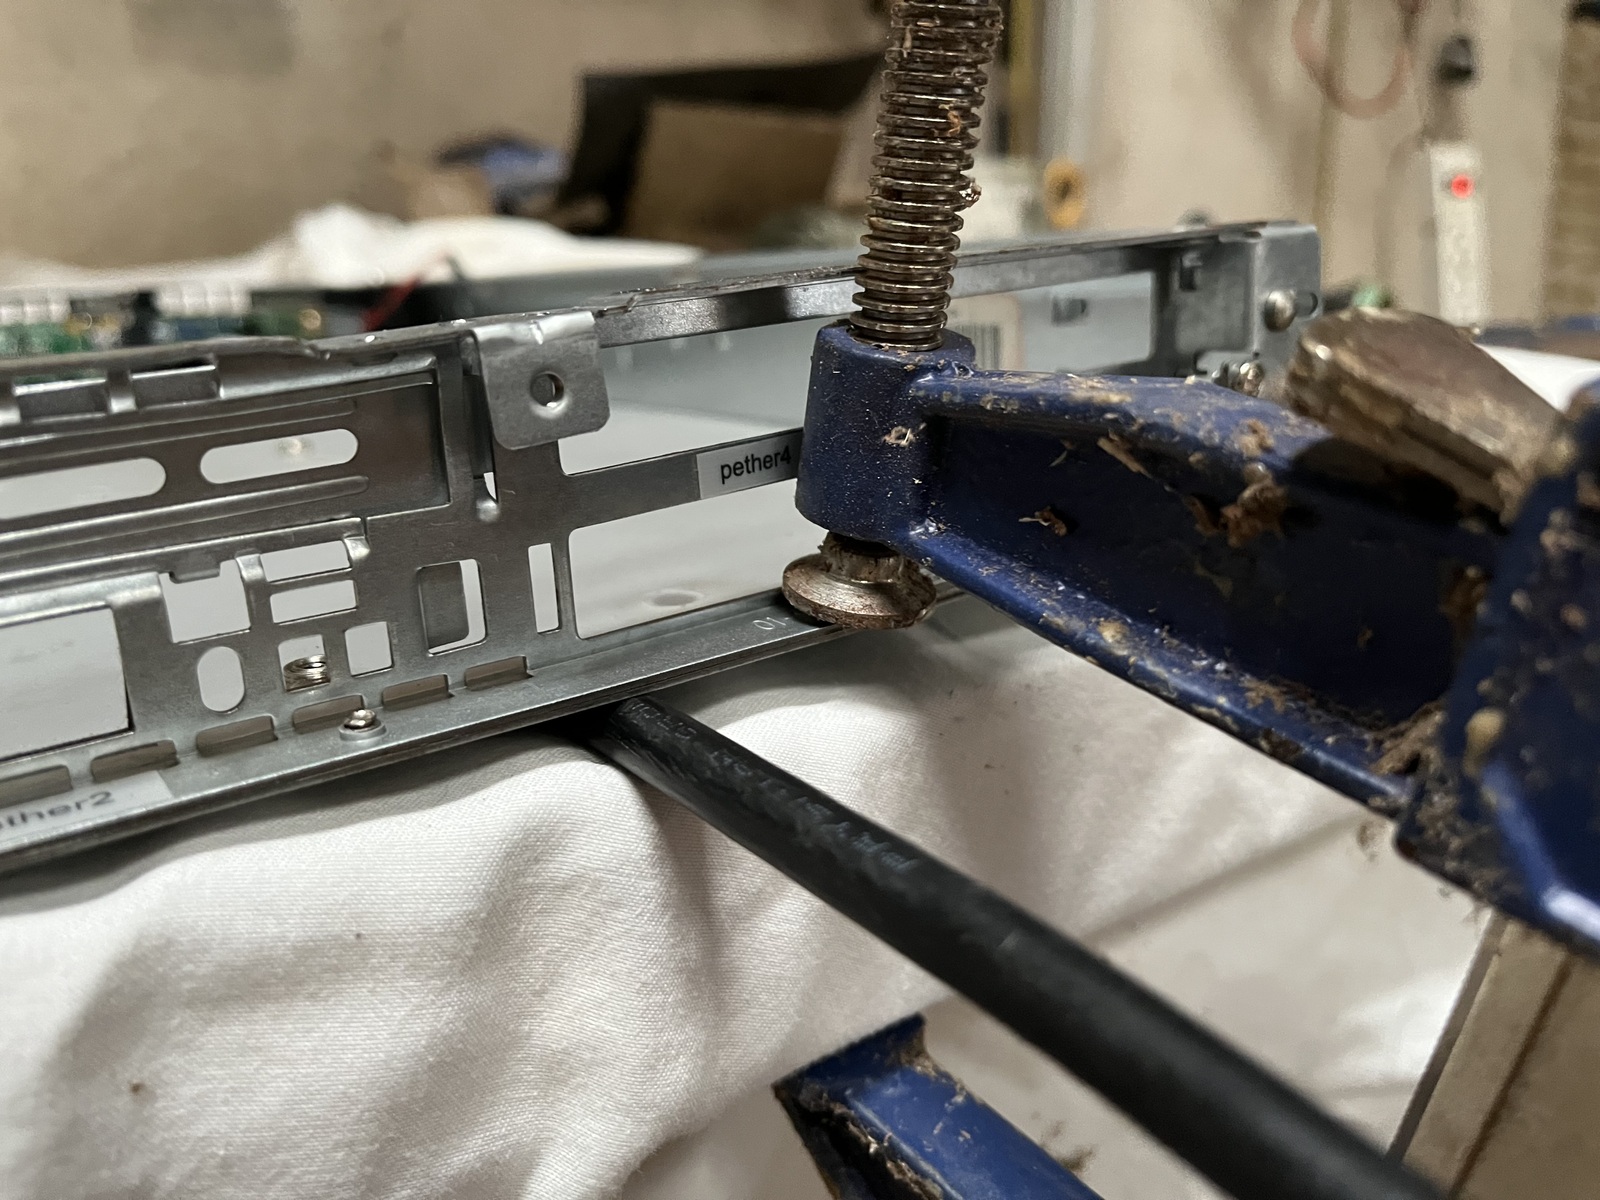
I tightened the right side all the way but, as you may have noticed in the photo above, the flat surface isn't going to cut it. In order to fully straighten out the bend I'd need to add some leverage. I once again searched the bodega for something that would do the job. A piece of wood, some cardboard, or a folded piece of paper might do. Instead I found something even better, a small section of 4 AWG wire. I placed it right under the bend and proceeded to slowly tighten the right side again. I again noticed some unwanted bowing so I moved the right vice inward, closer to the wire, and continued tightening.

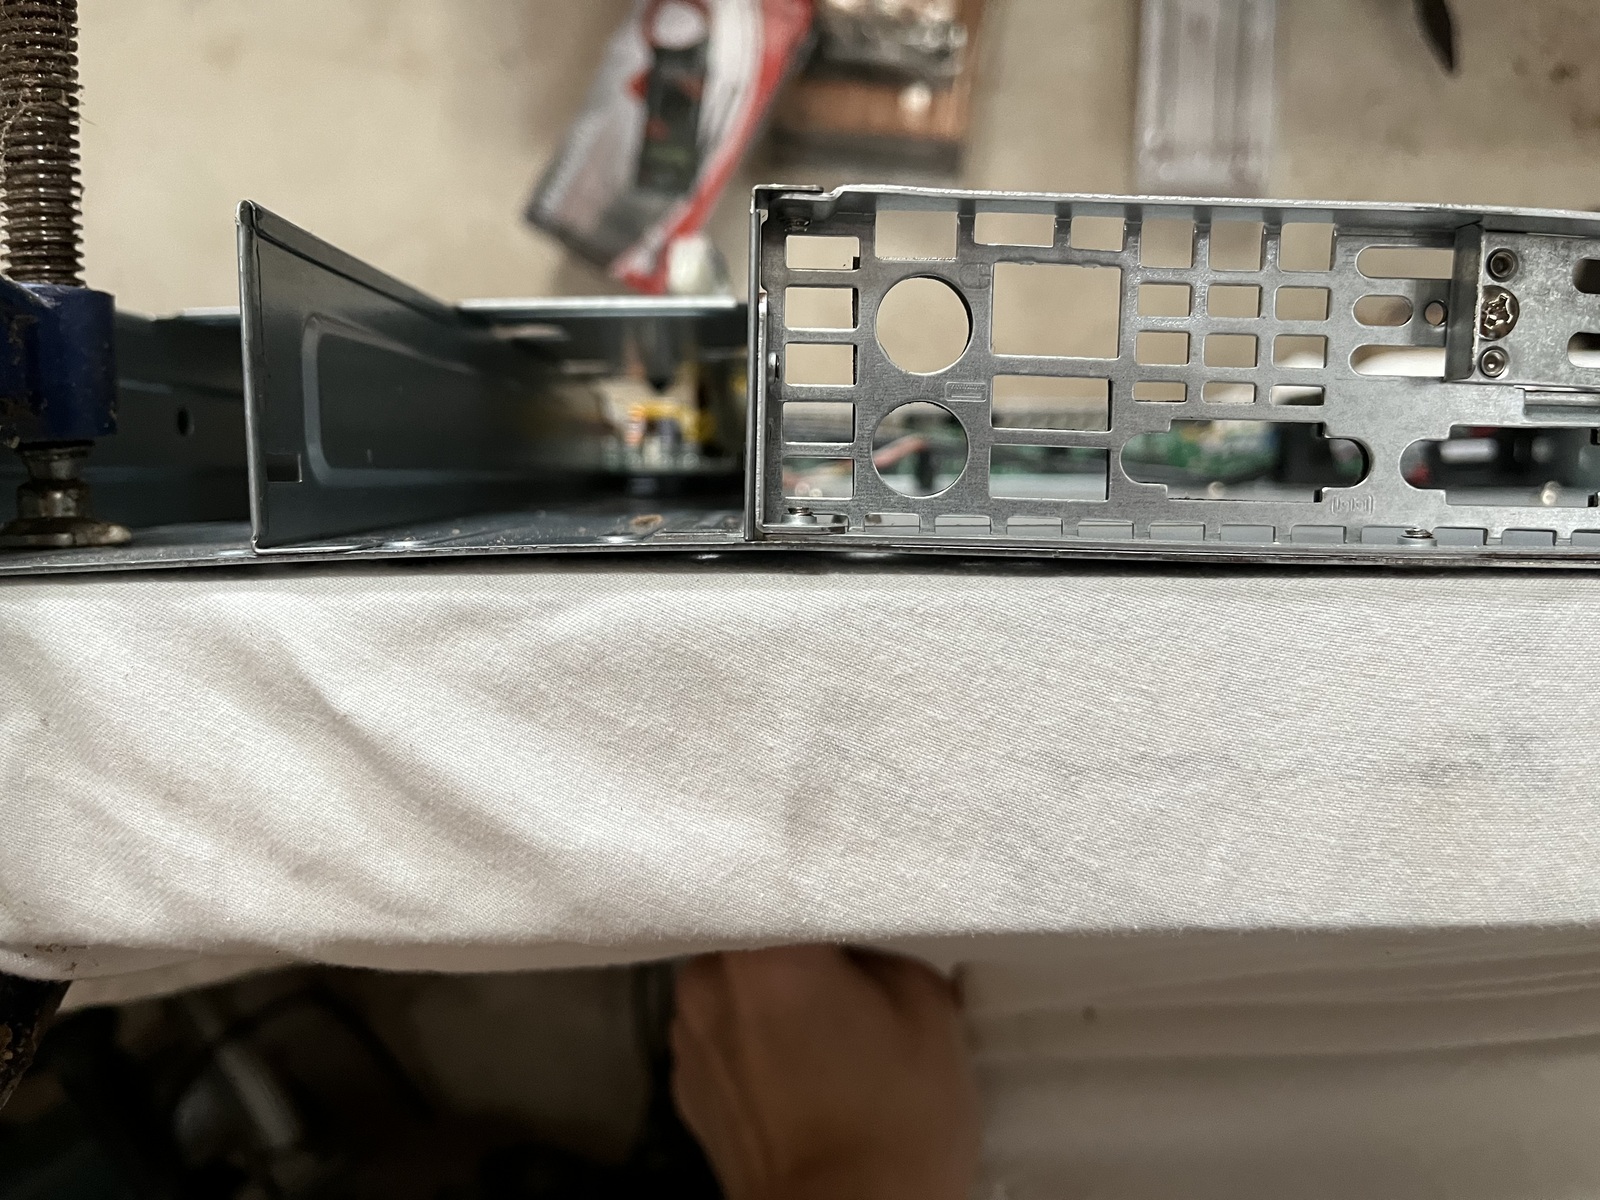
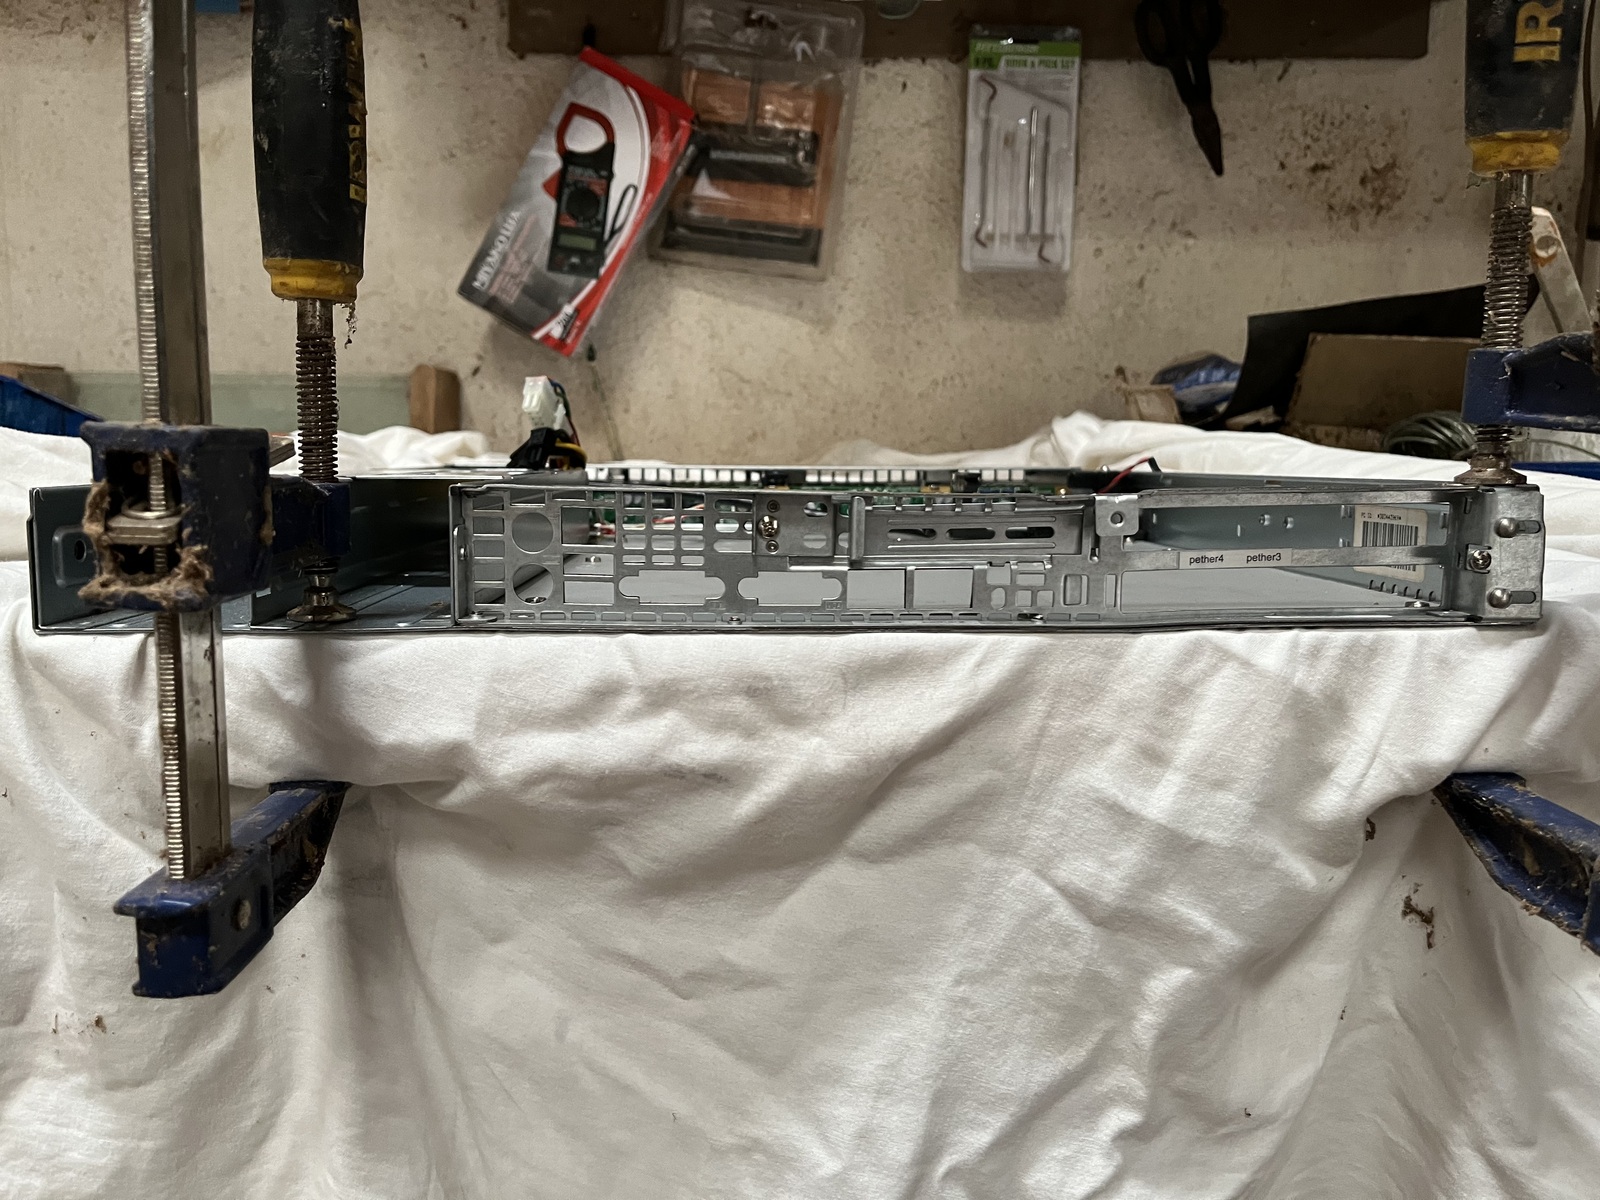
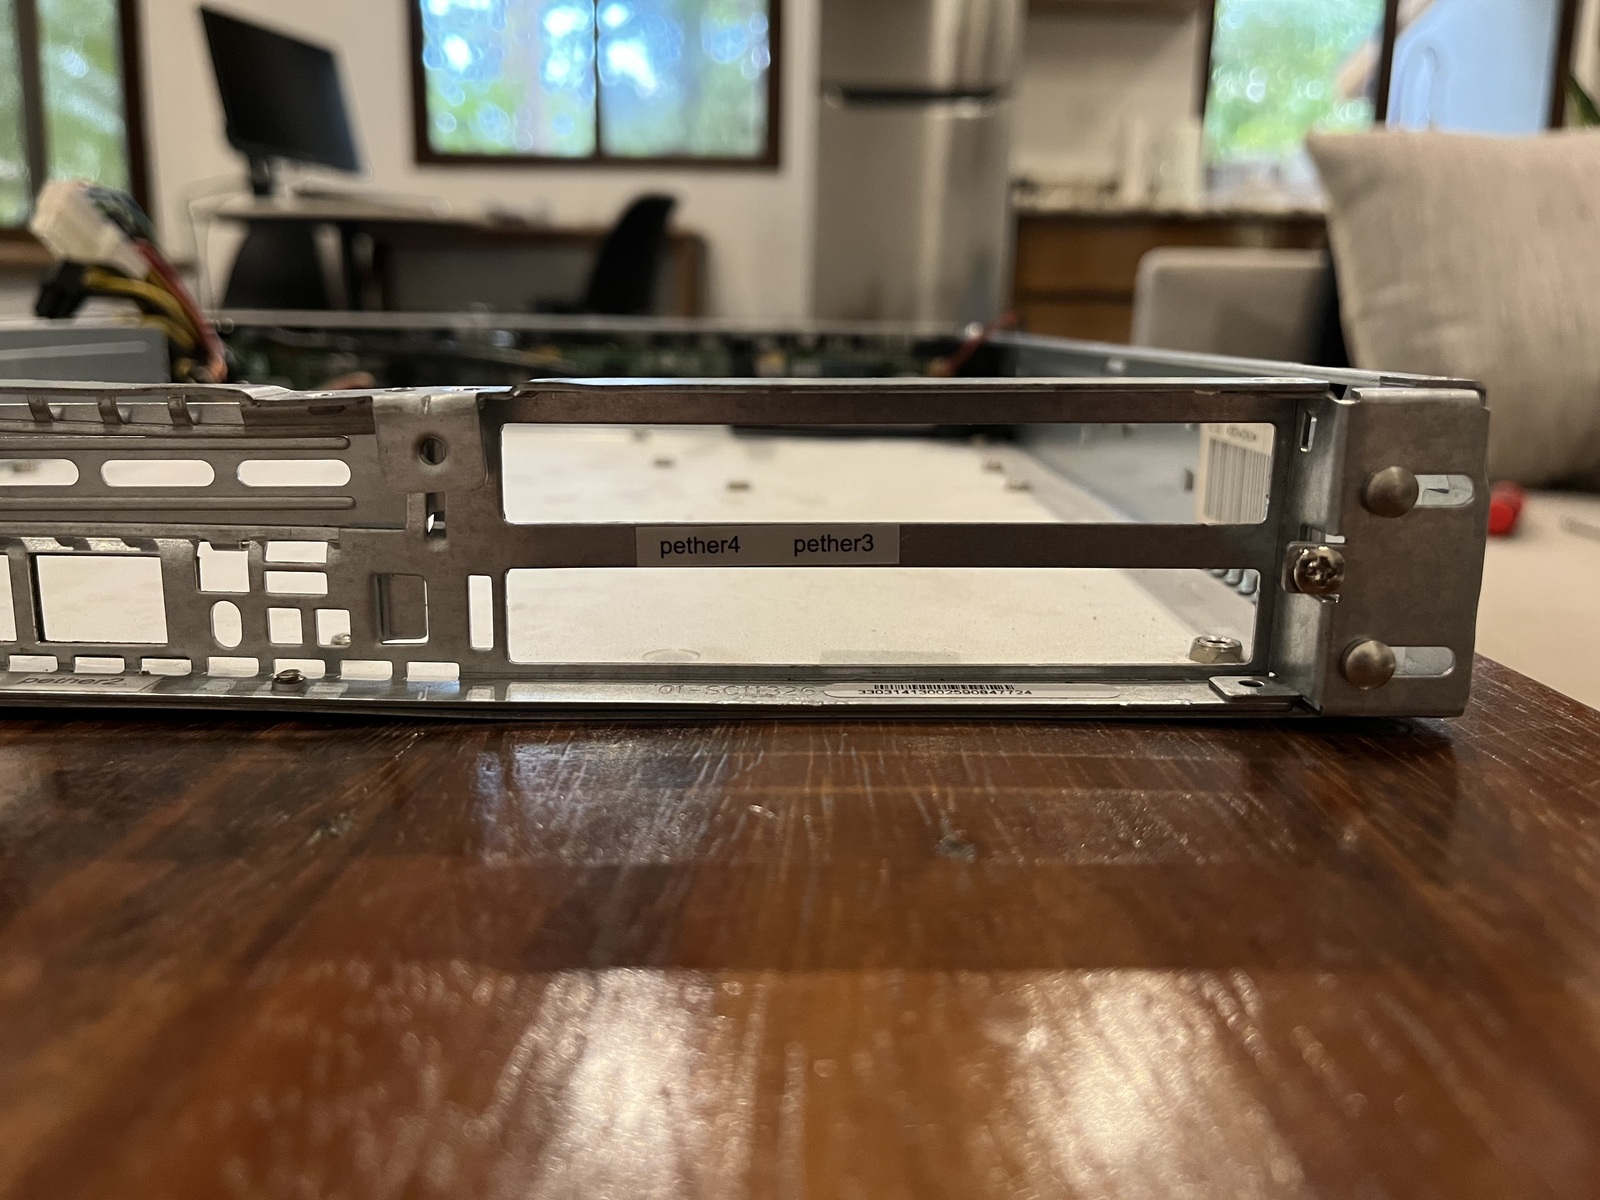
That was it. The case looked pretty straight to me now so I brought it back inside to take a closer look and reassemble the internals. As you can see from the before and after photos below, the operation seems to have been a success. Perhaps not perfect but hopefully good enough to slide into a rack somewhere.

Before

After

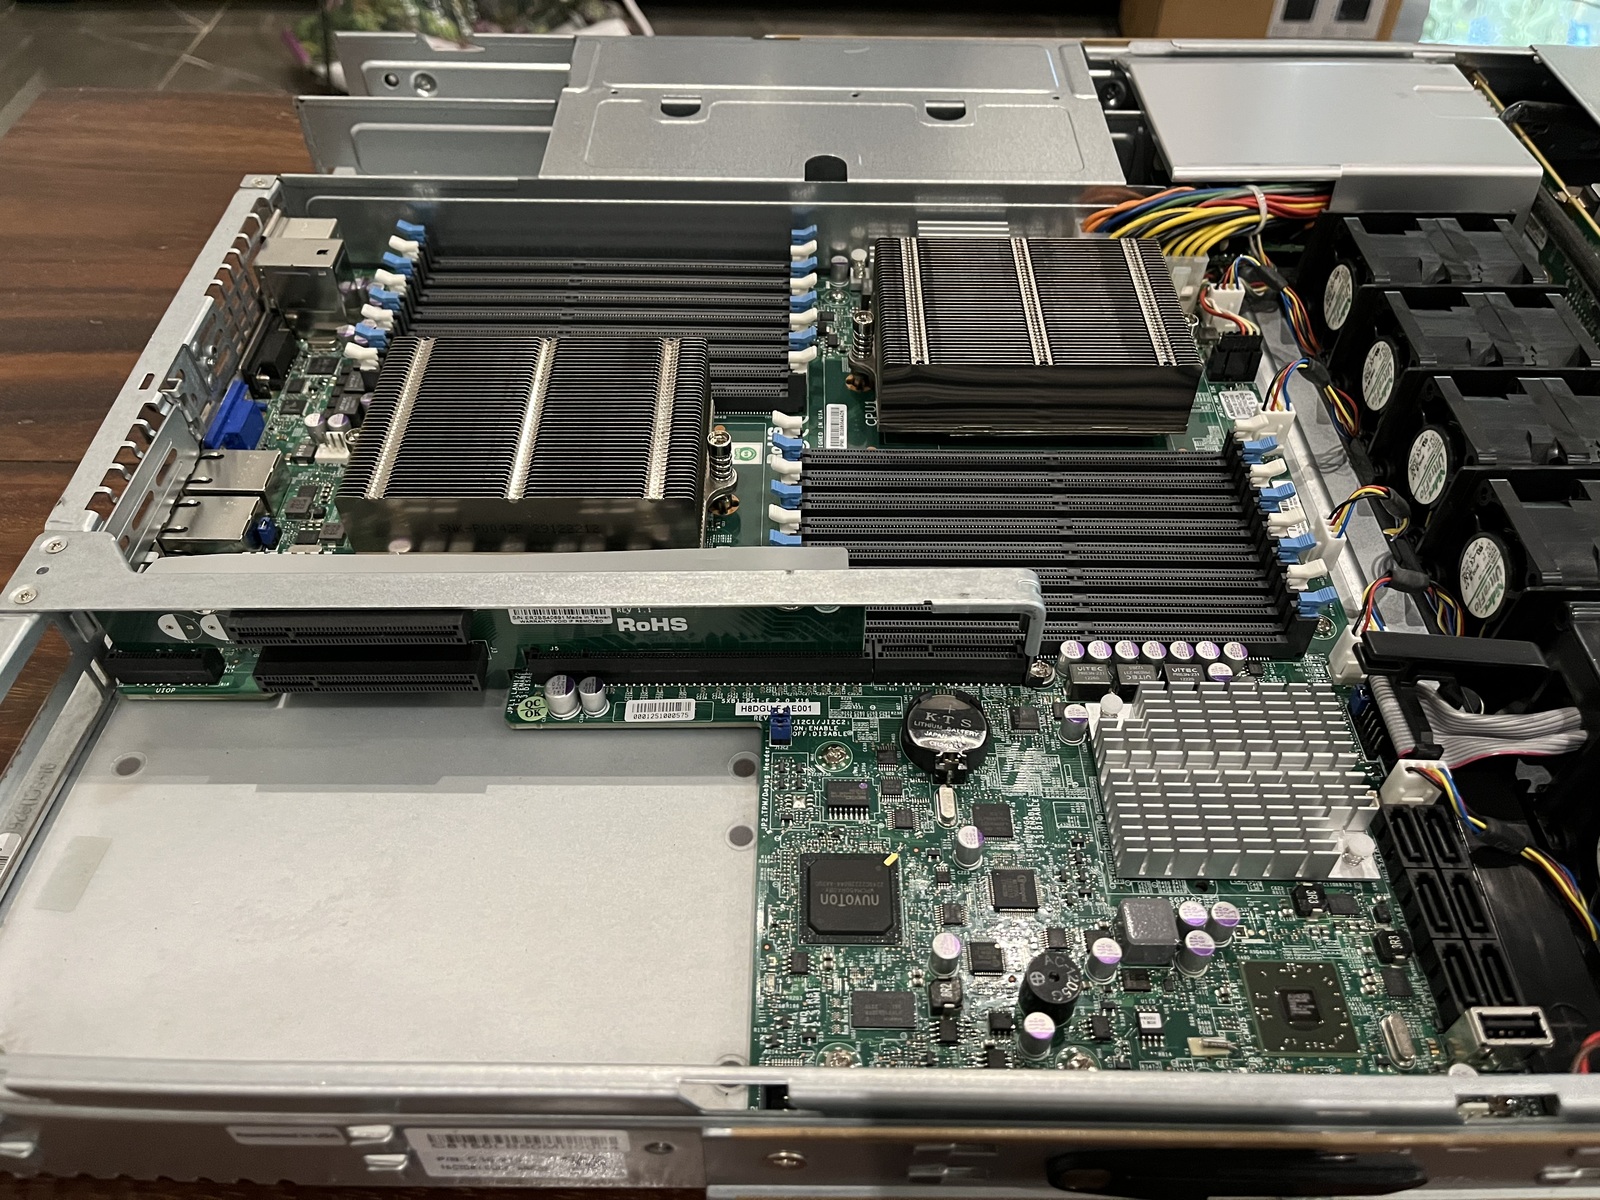
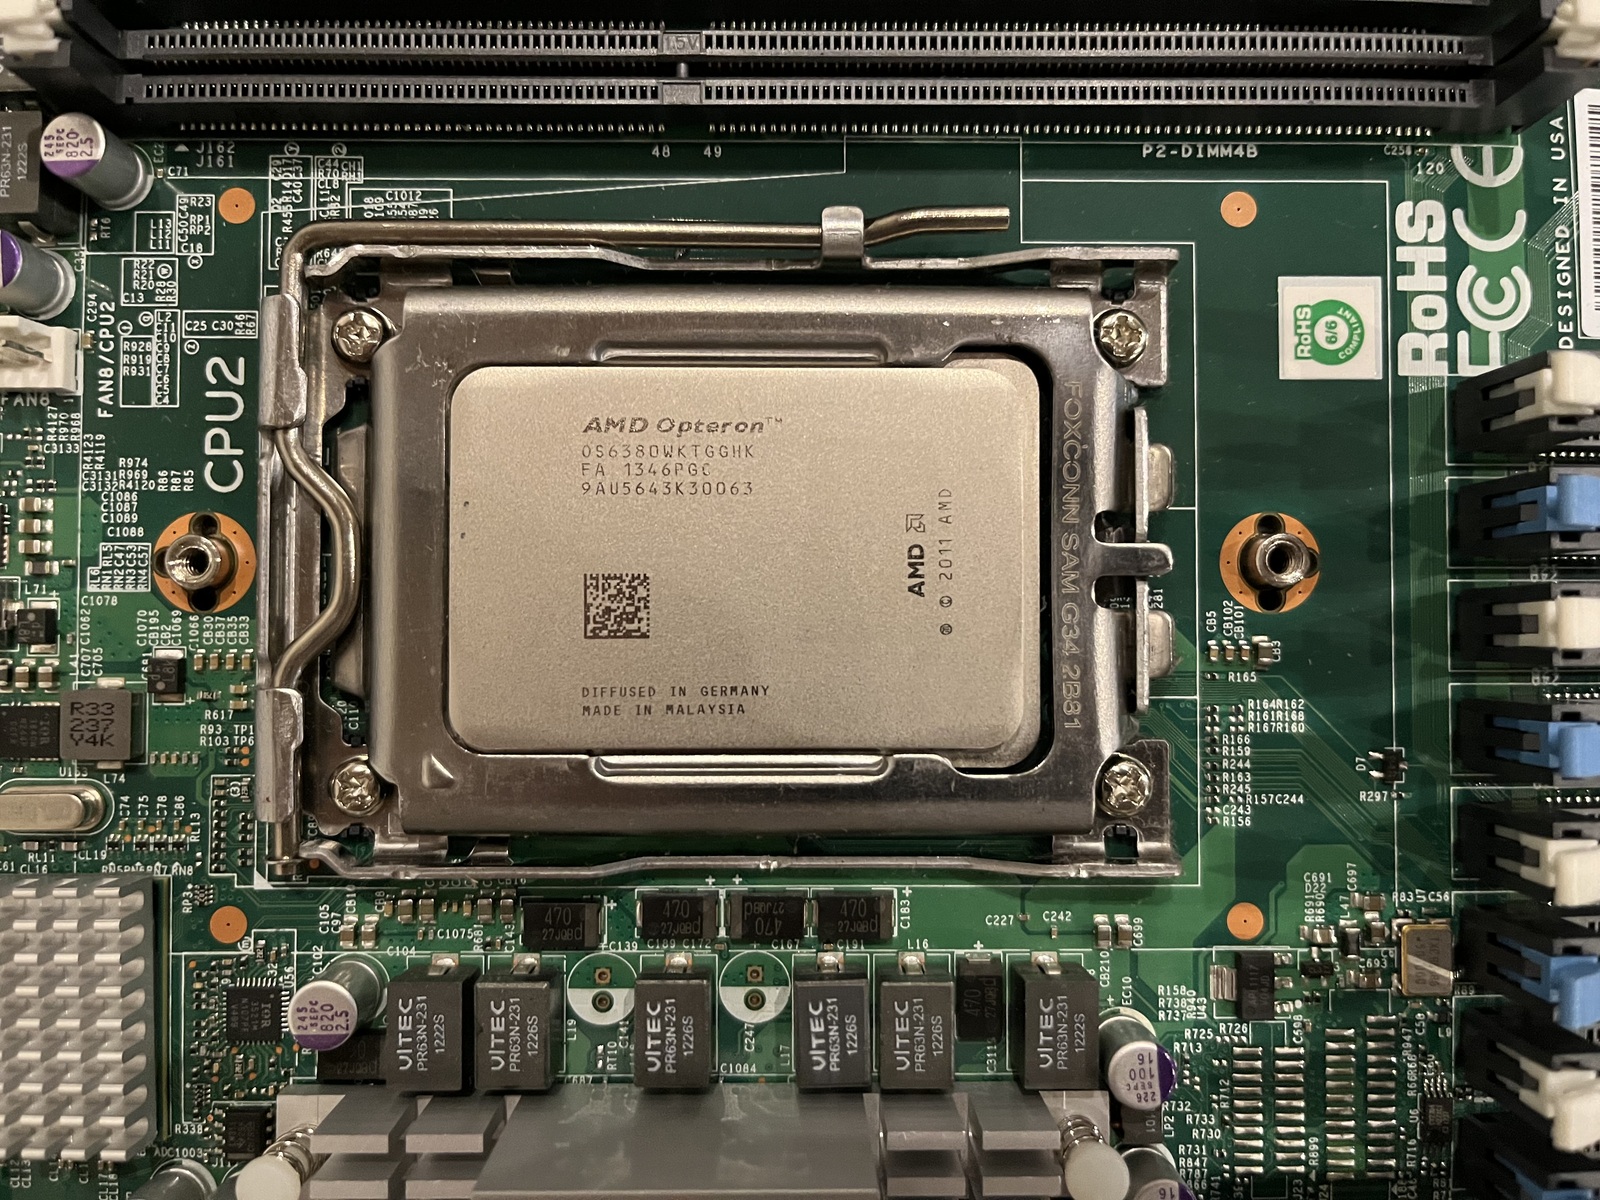
Here it is below with the motherboard back in place and the old thermal paste cleaned off of the CPUs.

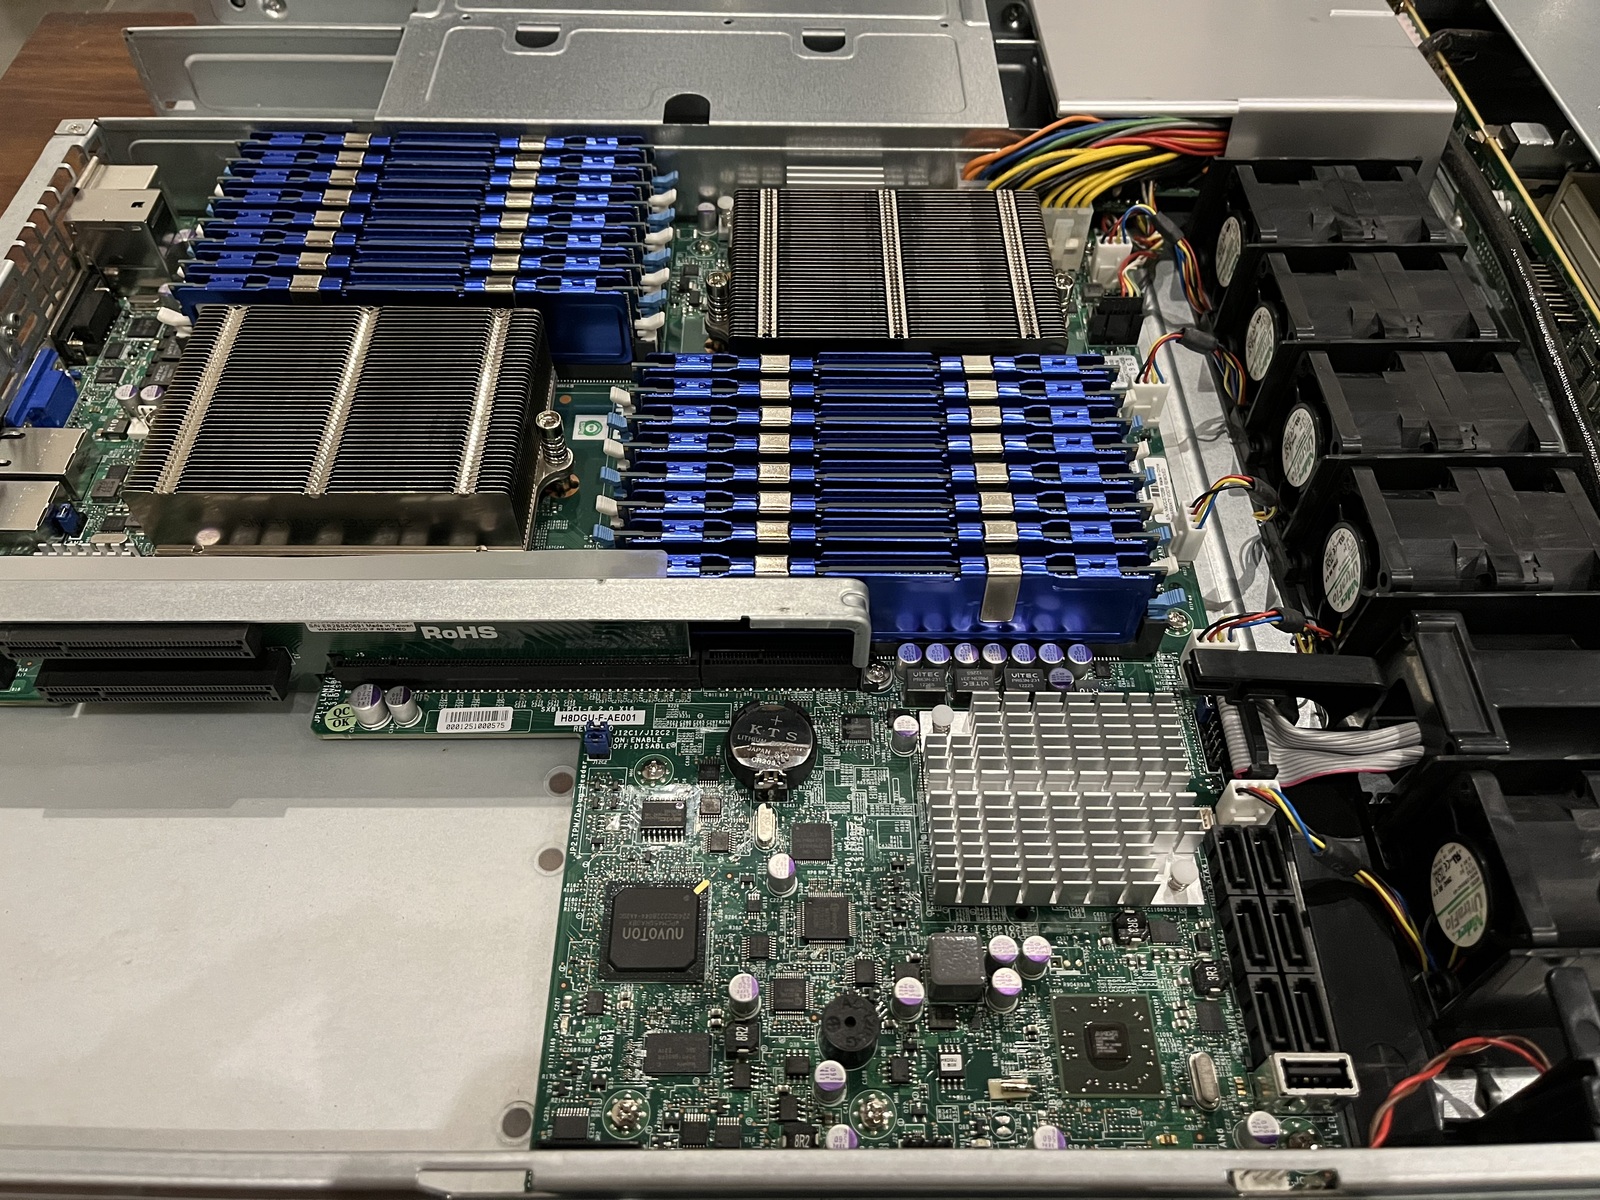
And finally all put back together and loaded with 256GB of DDR3 ECC RAM.

I also loaded the SSDs (not visible in the photo) but unfortunately wasn't able to test anything past powering it on since I have no way to connect it to a monitor.5 The next step, after installing Dulap on it (or perhaps Pentacle), is to find a home for it here in Costa Rica. Oh, and I guess I'll also need a hardware RAID controller for it. If anyone has any recommendations I'd much appreciate it as this will be my first time buying one.

  1. Getting things shipped to Costa Rica can be a pain. This item had to be smuggled in a suitcase, and although the impromptu importer went to great lengths to make sure it was packed properly, apparently the baggage handlers went to even greater lengths to ensure that that didn't matter. []
  2. It would've had to have been removed later anyway, as it was attached to the chassis. []
  3. Meaning in this case garage/workshop/storage area, not a convenience store in NYC. []
  4. The bodega in its current state is more like my personal junkyard than anything else. It needs to be thoroughly cleaned and organized, and it will be, just probably not this year. []
  5. I mistakenly ordered an HDMI to VGA cable, rather than the VGA to HDMI cable that I need. []

Running MP-WP on a Modern Musl-Based Gentoo

February 11th, 2022

A lot has changed since I last wrote a guide on installing and running MP-WP. For one, the previous article reads like pure cringe when I go back and look at it now. I was more concerned with exhibiting the right affectations than producing something truly useful. Whatever usefulness (if any) it served at the time, I can assure you, was purely accidental. I now have a much better grasp of what I'm doing, so it's easier to filter out noise and highlight parts of the process that deserve attention. There have also been changes to Gentoo—subtle differences in the current upstream versions of Apache, MySQL, and PHP that require small tweaks and patches. Lastly, the guide that served as my initial reference for setting up MP-WP back in 2018 has since been lost to bitrot. This guide addresses the shortcomings of my previous guide and aims to be the only guide you'll need for setting up MP-WP on Gentoo.

Collecting the Patches and Pressing with V

This will be the only handwavy portion of this guide.1 First collect all the vpatches for MP-WP (along with all of the signatures) and press the tree using a working V. Now you should have a copy of the MP-WP source. Before you can use it you'll first have to install and configure some dependencies, so we'll leave the source alone for now and come back to it later.

Installing the Dependencies

MP-WP, derived from Wordpress 2.7, runs on top of Apache, MySQL, and PHP. So if you're on a fresh Gentoo install you'll need to first install and configure these before getting on to MP-WP.

MySQL 5.7

MP-WP is known to work with MySQL versions 5.5, 5.6, and 5.7. Since 5.7.36 was the version available upstream that's the one I selected. The process was mostly uneventful, except for a small incompatibility with musl2 while building mysql-connector-c. The bug was already known and a user had submitted a patch to Oracle with the fix. I took the changes in his patch, added them to a copy of the 5.7.36 ebuild, and saved it in my local overlay. With the changes in place MySQL emerged without any other issues.

For your convenience I've uploaded a tarball of the patched mysql-connector-c ebuild: mysql-connector-c-8.0.27-r1.tgz.

Download the tarball and extract to wherever you have your local overlay.3 To make the ebuild available to portage, run the following from inside the new directory:


# from inside /usr/local/portage/dev-db/mysql-connector-c/
sudo ebuild mysql-connector-c-8.0.27-r1.ebuild digest

The ebuild should now be available to portage and you can emerge it by specifying the version, like so:


# first install the patched mysql-connector-c dependency (skip this if on glibc)
sudo emerge -av =dev-db/mysql-connector-c-8.0.27-r1

# now you can emerge mysql
sudo emerge -av =dev-db/mysql-5.7.36-r1

If you are on a glibc-based build then you didn't need to create the patched ebuild and you can just emerge MySQL 5.7 normally, it will automatically pull in mysql-connector-c.

PHP 5.6 and Apache 2.4

First let's grab PHP 5.6. MP-WP won't work with PHP versions > 5.6 (the minor version doesn't seem to matter) and the upstream Gentoo repo no longer includes any ebuilds for PHP 5.6 so you'll have to manually add one to your local overlay as we did in the MySQL step. If you look inside /var/db/repos/gentoo/dev-lang/php/ you'll see ebuilds for all the available versions. If a 5.6 version isn't among these then you'll have to add your own to /usr/local/portage. You can either go look for one buried in the packages commit history or use my copy: php-5.6.40-r7-ebuild.tgz.

Extract the tarball to /usr/local/portage/dev-lang/,4 then make the ebuild available to portage:


# from inside /usr/local/portage/dev-lang/php/
sudo ebuild php-5.6.40-r7.ebuild digest

Before installing you'll also have to enable the USE flags for apache2 and mysql so that PHP is built with support for these. I added mine to the global list in /etc/portage/make.conf.

You can now run:


sudo emerge -av =dev-lang/php-5.6.40-r7

It will likely complain about a missing required USE flag, gd. If this is the case simply add this to /etc/portage/package.use5:


# Either inside `/etc/portage/package.use` if you have it as a file or inside `/etc/portage/package.use/somefile` if you have it as a directory.
dev-lang/php gd

You can now emerge PHP again with the same command. This time it should build without any issues. If you set the apache2 USE flag as mentioned above then emerging PHP will also pull in Apache as a dependency, so after this step you should have all the dependencies you need to start configuring MP-WP.

Configuring Apache and MySQL

First a few basic knobs to turn in order to get the dependencies working properly with each other. Edit the file /etc/conf.d/apache2 and add "-D PHP" to the variable APACHE2_OPTS. Now Apache will load the PHP module when it starts. Next, configure MySQL by running the following command.6


sudo emerge -av --config =dev-db/mysql-5.7.36-r1

This step will create the root MySQL user and ask you to choose a password. Save the password because you'll need it to connect to MySQL for the first time and create your other user accounts.7 Before starting MySQL you'll likely have to set the SQL mode for compatibility with MP-WP.8 Edit /etc/mysql/my.cnf and add the following to the bottom of the file:


[mysqld]
sql-mode="REAL_AS_FLOAT,PIPES_AS_CONCAT,ANSI_QUOTES,IGNORE_SPACE"

Start mysql:


rc-service mysql start

Log in to MySQL as root with the password you set in the emerge --config step.


mysql -u root -p

Verify that the sql_mode was set correctly


SELECT @@GLOBAL.sql_mode;

The output should match what you entered in /etc/mysql/my.cnf. If everything looks good you can create the MySQL user and database you will use for MP-WP:


-- change the placeholder values to your own, obviously
CREATE USER 'someusername'@'localhost' IDENTIFIED BY 'password';
CREATE DATABASE theblogdbname;
GRANT ALL ON theblogdbname.* TO 'someusername'@'localhost';

Edit mp-wp/wp-config.php and set the DB_NAME, DB_USER, and DB_PASSWORD variables to match your configuration. Also set the $table_prefix variable to whatever you like, e.g. "mpwp_". The tables autogenerated by MP-WP will now all be prefixed with this string, e.g. "mpwp_posts", "mpwp_users", etc.

Now that everything is configured the last step is just to point Apache to your new MP-WP direcory. Edit /etc/apache2/vhosts.d/default_vhost.include and change the lines DocumentRoot "/default/path" and <Directory "/default/path"> to point to wherever you have your blog code.

You can now start apache:


sudo apache2ctl start

Visit localhost in your browser, if everything is configured and working properly you should see the new blog setup screen. From here simply follow the instructions to create your admin account and start using MP-WP. If you encounter any errors double-check the steps above and make sure you have everything configured properly. If you're still stuck, leave a comment describing your issue in detail and perhaps I'll be able to help.

  1. A future guide will walk through all of the steps involved in this but here I will assume you have a working vtron and know how to press vpatches. []
  2. If you're on a glibc rather than musl-based system you can skip ahead to emerging MySQL normally, it should work fine with the package in upstream. []
  3. Overlays are a concept in Gentoo's Portage. They allow you to "overlay" the main repository with additional repositories in order to make available additional packages—and versions of packages—that are not included in the default upstream repo. I have my local overlay at /usr/local/portage. The directory structure inside there matches the standard Portage repository structure, such as can be seen in /var/db/repos/gentoo. Packages are separated into category folders, within those are package folders, and within those are ebuilds and related files for available versions.

    To create your own local overlay, simply create the new directory (e.g. mkdir /usr/local/portage) and designate it as your overlay in /etc/portage/make.conf. To do so, add this line inside make.conf: PORTDIR_OVERLAY="/usr/local/portage" and save the file. []

  4. Or wherever you have your local overlay. []
  5. In this case I didn't want the flag to be global, so I added it to package.use. This can be either a file or a directory. Read more in the wiki. []
  6. Note that the exact version of MySQL you installed may be different, just be consistent with what's on your machine. You can check which package you have installed by running eix -I mysql. []
  7. I like to use pass for these sorts of things. []
  8. If you're using MySQL 5.6 or earlier it's possible this step is unnecessary. In any case you'll know soon enough when you try to run MP-WP. If you see any MySQL errors in the setup flow it's likely due to some incompatibility with the SQL mode. []

Building TRB on a 2022 Vintage Musl Gentoo

January 30th, 2022

I've been working on a new musl-based Gentoo build for my ThinkPad X1 Carbon (Gen 6) laptop. I recently popped in a new 2TB Samsung 970 EVO NVMe SSD since the original 512GB SSD was feeling a little cramped with the weight of Bitcoin's blockchain now approaching 400GB. Unlike my last Gentoo build on an FX-8350-based desktop, with this one I am documenting every step and pitfall along the way so that others new to TRB and V (and perhaps even Gentoo, or any flavor of Linux for that matter) can follow a set of instructions and have their own working vtron and TRB, on top of a reasonably sane Linux environment that is perfectly usable as a daily driver. As a prerequisite for publishing this guide I had to be sure that I could in fact build TRB on this system, otherwise the rest of the steps leading up to the TRB build would have been, for the most part, pointless. Well, I am now happy to report that (with only minimal patching) building TRB on a stock 2022 vintage Gentoo is indeed possible.

Building TRB with the System's Compiler and Libraries

To start, I grabbed all the patches up to and including jfw's system compiler patch. While I've had success building TRB via the 'Rotor' method on older Gentoo builds, namely asciilifeform's Dulap, my most recent attempt on a 2021 glibc-based Gentoo got stuck on this requirement for the m4 dependency. Additionally, jfw's system compiler is much faster, since there are a lot fewer steps, so I figured if I could get it to work it would be preferable.

Once I had all the patches and signatures I pressed the source and entered the new directory. From there I made my first attempt at make ONLINE=1.

Using the Right Version of Python

The first hiccup I encountered was with building the Boost dependency. It wasn't immediately apparent what the problem was but I remembered whaack had done a writeup of his experience using the system compiler build method so I checked his notes. Sure enough there was something in there about the Boost build failing, only he happened to also catch that it had something to do with Python. He was on 2.6 and the fix for him was to use 2.7. Out of the box my Gentoo came with Python 3.9.91 so I first installed 2.7 from Portage, along with virtualenv, and then set the virtual environment to target Python 2.7.


sudo emerge -av =dev-lang/python-2.7.18_p13
sudo emerge -av dev-python/virtualenv
virtualenv --python=python2.7 .env
source .env/bin/activate

With my Python virtual environment set I ran make again. This time Boost compiled successfully and the build continued until it hit the next snag with Berkley DB.

Patching Berkley DB to Build with Newer Versions of GCC

Compiling Berkley DB failed with an error that looked like:


../dist/../dbinc/atomic.h:179:19: error: definition of 'int __atomic_compare_exchange(db_atomic_t*, atomic_value_t, atomic_value_t)' ambiguates built-in declaration 'bool __atomic_compare_exchange(long unsigned int, volatile void*, void*, void*, int, int)'
  179 | static inline int __atomic_compare_exchange(
      |                   ^~~~~~~~~~~~~~~~~~~~~~~~~

I googled for some clues and found that the problem is fairly common, and the solution is straightforward. The issue is that some versions of GCC2 have their own __atomic_compare_exchange function that conflicts with that of BDB's. The solution is to rename BDB's to something else, so I added the patch and extra line to the build/Makefile and ran make again. This time there were no issues with BDB and I ran into the final issue preventing a successful TRB build.

A Small Adjustment to Boost's API

It's likely this won't even be an issue for you unless you've already installed a more recent version of Boost3. I got this error inside src/net.cpp:


../src/net.cpp:35:1: error: reference to 'array' is ambiguous
   35 | array vnThreadsRunning;
      | ^~~~~

Luckily this was also something that others had run into and tracked down to an API change in later versions of Boost. The fix is simply to update the offending line, like so:


-array vnThreadsRunning;
+boost::array vnThreadsRunning;

With this change in place the entire build finally succeeded and I was left with a working bitcoind inside of build/. I moved this to a more generic location on my machine, ran it, and now my new TRB is up and eating blocks.

Some Remaining Questions

There was one part of this process that didn't quite add up: if I had to go through the trouble of building the specified Boost 1.52.0 then why did the build at some point use my local 1.77.0 copy at /usr/lib? I decided to try the build again, this time removing all pointers to the Boost library in deps/Makefile and build/Makefile. This also worked for me4 and was the fastest I had ever seen TRB compile. I tested the resulting binary and it continued to eat blocks where the other left off just fine.

The two binaries were of different weights though, 31MB and 33MB. Running ldd showed some differences in their linked libraries:

Built with the specified Boost 1.52.0 present

$ ldd bitcoind
/lib/ld-musl-x86_64.so.1 (0x7ff899970000)
libstdc++.so.6 => /usr/lib/gcc/x86_64-gentoo-linux-musl/11.2.0/libstdc++.so.6 (0x7ff899344000)
libgcc_s.so.1 => /usr/lib/gcc/x86_64-gentoo-linux-musl/11.2.0/libgcc_s.so.1 (0x7ff89932b000)
libc.so => /lib/ld-musl-x86_64.so.1 (0x7ff899970000)

Built with only the local Boost 1.77.0

$ ldd bitcoind
/lib/ld-musl-x86_64.so.1 (0x7f43030db000)
libboost_system.so.1.77.0 => /usr/lib/libboost_system.so.1.77.0 (0x7f4302d0e000)
libboost_filesystem.so.1.77.0 => /usr/lib/libboost_filesystem.so.1.77.0 (0x7f4302cec000)
libboost_program_options.so.1.77.0 => /usr/lib/libboost_program_options.so.1.77.0 (0x7f4302c9c000)
libboost_thread.so.1.77.0 => /usr/lib/libboost_thread.so.1.77.0 (0x7f4302c7d000)
libstdc++.so.6 => /usr/lib/gcc/x86_64-gentoo-linux-musl/11.2.0/libstdc++.so.6 (0x7f4302a76000)
libgcc_s.so.1 => /usr/lib/gcc/x86_64-gentoo-linux-musl/11.2.0/libgcc_s.so.1 (0x7f4302a5d000)
libc.so => /lib/ld-musl-x86_64.so.1 (0x7f43030db000)
libboost_atomic.so.1.77.0 => /usr/lib/libboost_atomic.so.1.77.0 (0x7f4302a53000)

I don't understand why the two binaries have different library links when they appeared to use the same local copy of Boost at some point during the build,5 but I'm content for now with having found two new ways of buliding a working TRB on a 2022 Musl Gentoo.

The Unsigned Patch

I figured since I'd already done the work of patching the build to work on my heathen Gentoo configuration I'd share the complete set of changes in case anyone else wants to run TRB on a similar setup.

bitcoin_heathen_linux_build_fixes.vpatch

  1. Modern Gentoos now ship with Python 3, and eselect python no longer lets you select Python 2.7 as the system default Python. []
  2. I'm not sure why I only bumped into this now, considering the function was first added to GCC all the way back at version 4.7.0. If any GCC experts can write in and let me know what I'm missing I'd much appreciate it, I was using GCC 11.2.0 fwiw. []
  3. As I apparently did when I installed AbiWord. There are also a number of other packages that require Boost so it's possible you have it installed already. []
  4. And no longer required a specific version of Python. []
  5. At least that was my hunch, as indicated by them barfing on the same line in src/net.cpp. []